
Clear out the eerie Dark Forest with our complete walkthrough.
Our Destiny 2: Dark Alliance guide contains a walkthrough filled with strategy advice that’ll help you complete this Adventure with no trouble at all.
At first Dark Alliance starts off in the beautiful wasteland of the EDZ, but it’s not long until you’re whisked away to the spooky Dark Forest filled with gnarled trees and glowing portals, all cloaked in shadow. You’re tasked with finding the source of the Taken crisis and stopping it in its tracks – by blowing everything to smithereens.
All in all, it’s a fairly simple mission that requires a mixture of hopping around and mob clearing. There’s the risk of being overwhelmed by large groups of enemies – especially if you’re flying solo – but with our guidance, you’ll be fine.
It’s worth noting that the current version of this guide is based on gameplay footage as Destiny 2 hasn’t been released yet. This means that we don’t have all the details on this Adventure, and whatever’s in here could be subject to change when the game launches in September. Of course, we’ll update this guide when we get to play this mission ourselves – so stay tuned for more!
If you’re after even more information on other Adventures in Destiny 2, make sure you check out our continuously updated Adventure guide.
Below we’ve embedded a video which gives us a walkthrough of the Adventure itself.
Location
Here you’ll find which NPC will give you the mission, where they’re located and how you can get to them.
Coming soon…
Objective
Below you’ll find a list of objectives that you’ll have to tick off in order to complete the mission.
- Defeat Enhanced Centurions.
- Disable Centurion Shield.
- Search the Dark Forest.
- Find the Psionic Source.
- End the Taken Crisis.
Walkthrough
Below you’ll find a step by step walkthrough of how to complete this Adventure.
Defeat the Enhanced Centurions and Disable Centurion Shield
- Find the mission marker and interact with it to begin.
- Proceed out of the building and head towards the destroyed truck just to your left. Keep going straight on from here and you’ll enter a fairly open area characterised by a long rift in the earth.
- It’s here that you’ll want to explore and search around for the first Enhanced Centurion. They’re pretty hard to miss and far tougher than the other mobs patrolling the area. If you’re playing with friends, split up and search both outside and within the warehouse-like structures nearby.
- We recommend switching to an energy weapon to take down their shields easily, before whipping out your best firearm to finish them off.
- Once you’re done, take a look to the left of the ridge and you’ll see a path snaking around to the right of the large warehouse. Follow this all the way round and it’ll take you directly to the second Enhanced Centurion. Watch out for the Taken Forerunner that spawns here too as he’s a rather tricky customer.
- Make your way down the slope and turn right. Follow the stream and keep an eye out for a path branching off to the left. Eventually you’ll see a mob of enemies, and this is where the third and final Enhanced Centurion lies. Throw some grenades into the mix and they’ll be toast.
Search the Dark Forest
- Now that you’ve dealt with all the Centurions, head all the way down the path you’re currently on and enter the portal at the end.
Find the Psionic Source
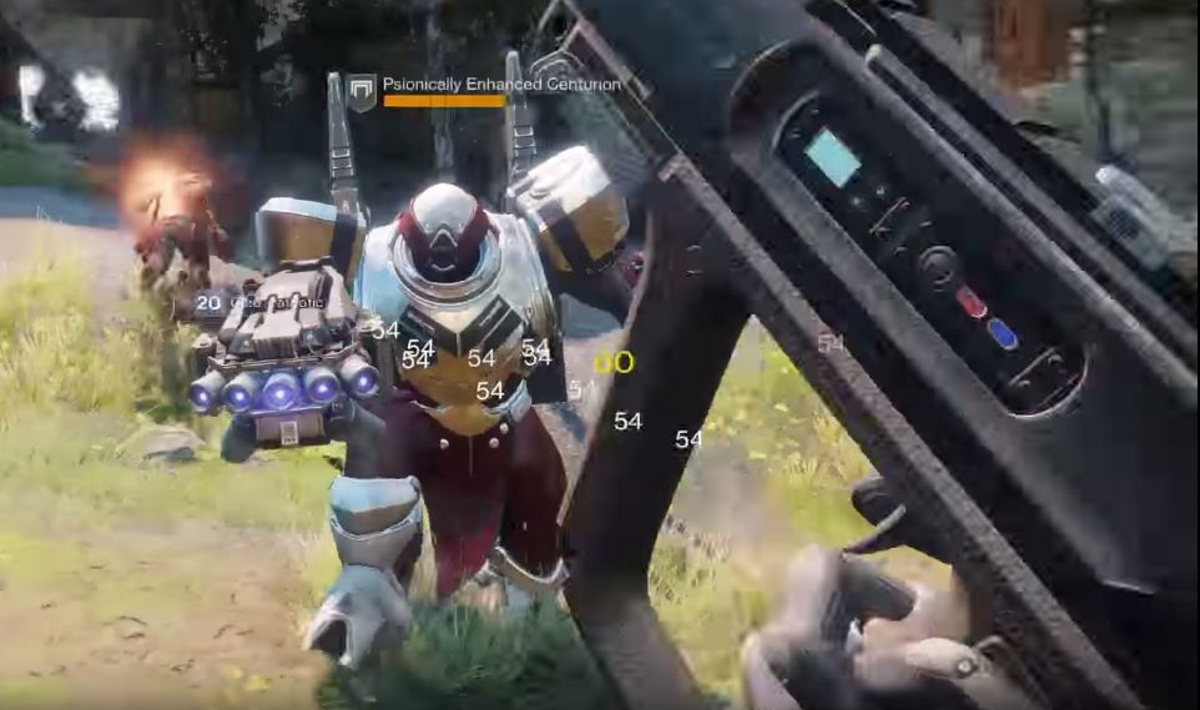
- Just plough forwards when you enter the next area and mind out for the enemies ahead. You’ll encounter Psionically Enhanced Centurions and some Corrupted Psions too. Keep going and start moving down towards the left.
- A portal will open up, so make your way through it.
- Once you’ve spawned, turn around and proceed forwards. You’ll see some a group of Cabal Legionaries chilling in a stream. Deal with them and keep moving straight ahead, taking out the trash as you go.
End the Taken Crisis

- All of sudden, mini-boss Prusk, The Unequaled Maul should spawn in front of you.
- Instead of going for the head on approach, swing left and flank around him. If you’ve got your Super ability ready, it’s worth popping it and unleashing some early damage on him.
- Now, it’s all about keeping an eye on his shield. If it’s up, that means there’s a mob of Psions knocking around. Take them out, and his shield goes offline temporarily.
- Just keep on the move, making sure to take out the Psion mobs and saving your Supers/grenades for Prusk. Avoid standing still for extended periods of time and he’s not that threatening.
- Once he’s dead, go through the portal that opens nearby and it’ll take you back to the European Dead Zone.
- Make your way down the path and you’ll receive your rewards.
- Mission complete!
Rewards
Here’s the list of goodies you’ll receive for completing the Adventure.
- Rare Chest Armour.
- Rare “Requiem-43” Hand Cannon.
- One EDZ Token.
Skip to around 8:40 in the video we’ve linked above and you’ll see the rewards pop up on the Guardian’s HUD when the Adventure has been completed. While we’re certain that the EDZ token is going to be a reward, we’re unsure if the armour and weapon will. We’ll confirm this when we get our chance to play the Adventure through.
