
Destiny 2: Savathun’s Song walkthrough guide – Ritual, Chasm of Screams, Dark Heart
Our essential guide to beating the Savathun's Song Strike.
Our Savathun’s Song walkthrough guide for Destiny 2 contains tips, tricks and tactics for completing this Strike on Nightfall difficulty.
In the depths of Titan there’s a particularly nasty threat who’s been pulling the Hive’s strings this whole time. You’re going to have to delve down into the Arboretum’s depths, battle through horrific secretion-riddled chambers, shatter crystals and reach the enormous Shrieker that’s been causing so much trouble. Fortunately, there’s loot at the end of it, so all’s good right?
Don’t forget to check out the rest of our Strike guides too – the links can be found further in the article! We’ve also just updated this guide to reflect the latest Nightfall changes too – you’ll find a complete walkthrough for this tough challenge right at the top of the guide.
(If you want to be the best at every area of the game, don’t forget to bookmark our PVP, Campaign walkthrough and Subclass guide pages – they’ve got everything you need if you want to get more out of Destiny 2, and will be continuously updated in the weeks ahead.)
Editor’s UPDATE #4: Below, you’ll find details on all of the modifiers, anomaly locations and how to beat this week’s Nightfall.
Nightfall Strike: Savathun’s Song – Tuesday 12th December 2017
For this week’s reset we’re heading into Savathun’s lair and taking on all manner of Hive nasties in the process. It’s a pretty chaotic Strike with Hive swarming you left, right and center continuously, so it could be one of the toughest Nightfall’s yet.
If you’ve never attempted or heard of a Nightfall Strike before, it’s essentially a much harder version of the original Strike. It’s made more difficult thanks to two modifiers that act similar to “mutations” in other games, and completely change the way the Strike plays out. Let’s not forget that there’s sometimes a time limit in place too – don’t complete it in time, you get kicked out.
To summarise, Nightfall Strikes are for end-game Guardians looking for a challenge and on the hunt for some powerful Engrams. Completing them also goes toward your Milestones and Clan rewards making it worth your while. Gather your fireteam and get stuck in!
Nightfall: Modifiers
The modifiers affecting Savathun’s Song this week are:
- Momentum – The official description reads: “Health and shield regeneration are disabled while standing still. Sprint to regenerate more quickly.” We found it’s more important to avoid fire, rather than keeping on the move. Make the most of your subclass abilities, Rifts and Barriers are an absolute priority – set them down whenever you can.
- Timewarp: Anomalies – This one’s pretty simple: “Strange anomalies have been detected in the area. Destroy them to release temporal energy and extend the mission timer.” You’ll know when an anomaly is in the area because it’ll be flagged up on your HUD in the bottom left. Whenever it happens, scour the area (quickly) for any shining blue cubes that resemble those Nessus Data Lattices. More often than not, they’re above or behind you!
Nightfall: Tips and Tricks
Starting off and protecting Ghost
When you first start out, hop on your Sparrows and boost your way over to the Arcology. Before heading into the tiny entrance before the large open pool area, continue dead ahead and take out the anomaly dangling off the railing.
Make your way through the tiny entrance and out into the pool area. Proceed forwards towards the pool and look straight ahead, you’ll see an anomaly floating in the distance. Continue into the center of the pool and look up at the large spires, there will be another anomaly atop them. Finally, from your current position, turn back towards the narrow entrance you just came from and you’ll see another anomaly perched atop a ledge nearby.
Activate the door and hold off the waves of enemies.
Stick together by the doorway, drop your class abilities and focus on taking out the Wizards as soon as they arrive.
We don’t recommend going awol, just stick by the entrance and you’ll be fine.
Once the door opens, drop the Thralls and find cover to the side. Aim to pop out of cover and whittle down the Ogre without getting impatient. It’s better to take a little more time than die altogether! Have one person take on the other enemies while the other two hit the Ogre’s eye.
Explosive power weapons are a great choice for eliminating the Ogre and his friends quickly. Once it’s done, look out for the anomaly sitting directly above the entrance and head towards the next objective marker.
Find the lost fireteams

Now that you’ve felled the Ogre, power it towards the next objective until you get to a room which triggers “Anomaly Detected”. Floating above you in the center of this room will be the anomaly you’re after. Down the stairs there will be a number of Hive enemies, so stay at the top and shoot down at them until they drop.
Continue down the stairs, turn left and left again. Take out the anomaly and continue towards the objective. Eventually you’ll encounter a Hive Wizard along with a bunch of its cronies. It’s important to play it safe here and chuck grenades in first to stagger your enemies. When that’s done, pop in and out of cover, shooting down the remaining threats. Make sure you clear the entire room out, take out the anomaly next to the receptacle, grab the Void charge and ram it in.
Imagine you’re facing the receptacle, look to your left and directly up. You’ll see another anomaly perched on the wall above.
Make your way into the next room, and you’ll spot an anomaly dead ahead. Turn immediately right and take out the next anomaly. From here, peer over the edge of the pit, look ahead into the darkness and you should see the blue hue of another anomaly. Hop down and interact with the shard. Once that’s done, immediately look up towards the walls surrounding you and rotate the camera around until you spot the next anomaly hovering in the air.
You may spot another anomaly down here behind a fog wall, don’t worry about it – you’ll get that one later. Once Ghost has gone quiet continue through and take cover behind the pillars. Now’s a good time to throw your grenades at the tanky knight dead ahead. Clear the mob and swarm the knight with fists of fury. Next, destroy all the crystals in the room and move onto the next objective.
Storm the Hive-ocupied levels of the Arcology and release captured Void Light
Head into the next room and prepare to take on another Ogre. Before doing so, look up and slightly to your left and take out the two anomalies floating here. Next, hammer the Ogre’s eye with your Power weapons and avoid popping any Supers until it’s gone down. When it topples, start moving up the room and potentially activate a Super to clear some mobs.
As you’re moving towards the stairs and onto the next Ogre, peer over the edge and you’ll spot another anomaly floating in midair. From here, head to the foot of the stairs and into the narrow pathway running to the left of them, where there’s another anomaly hidden away.
Avoid heading all the way up the stairs too quickly as there’s another Ogre with a ton of enemies lurking up there. Stay towards the bottom of these stairs and methodically work your way up, clearing the trash as you go. Prioritise the Wizard, then the Ogre. Again, if you’ve got any Power ammo – use it.
Make your way into the cavern and be wary of turning left into the corner as there’s a bunch of enemies lying in wait. Grenade them instead and bait the rest towards the entrance before taking them out. The next anomaly’s pretty easy to find here and you’ll bump into it if you circle the middle pillar.
Shoot the crystals and continue to the next objective.
Disrupt the Hive Summoning Ritual, Rendezvous with Taeko-3

As soon as you move into the next room, swing left and follow the perimeter of the wall until you bump into the next anomaly. Turn your attention to the Knights occupying the area and grenade them on sight. Don’t be afraid to unleash your power weapons on them too as they can lay waste to your team if left alone.
Now’s a good time to use one or two Supers to clear the rest of the enemies in the room, and as you’re doing so, look for the next anomaly tucked away in between a curved overhanging structure on the way to the next section.
Choose someone with the most Resilience to carry the orb and escort them into the next area.
If you’re near the first set of Hive traps, turn right and you’ll see an anomaly tucked away in a corner dead ahead.
It’s important that the orb carrier doesn’t run off alone! Stick together, be patient and work your way towards the recepticle. There will be – yet another – Ogre at the end, so adopt the same strategy as before. Once it’s down, have the orb carrier cheese it over to the recepticle and plant it.
Continue down the steps, turn around and hit the anomaly behind the pillar. Move into the Hive infested area and eliminate the Wizards. Just past the shard and over to the left there’s another anomaly so make sure you take it out.
Drop down into the pit and sprint your way into the caverns, taking out the anomaly positioned nicely along the way. Clear the first set of exploding Thralls and look out for the anomaly positioned just above the first doorway.
Keep descending and hug the wall to the left to take out the next anomaly. Continue through the next doorway, and take out the anomaly positioned just above it before moving through and hugging the wall to the left again to take out the final anomaly!
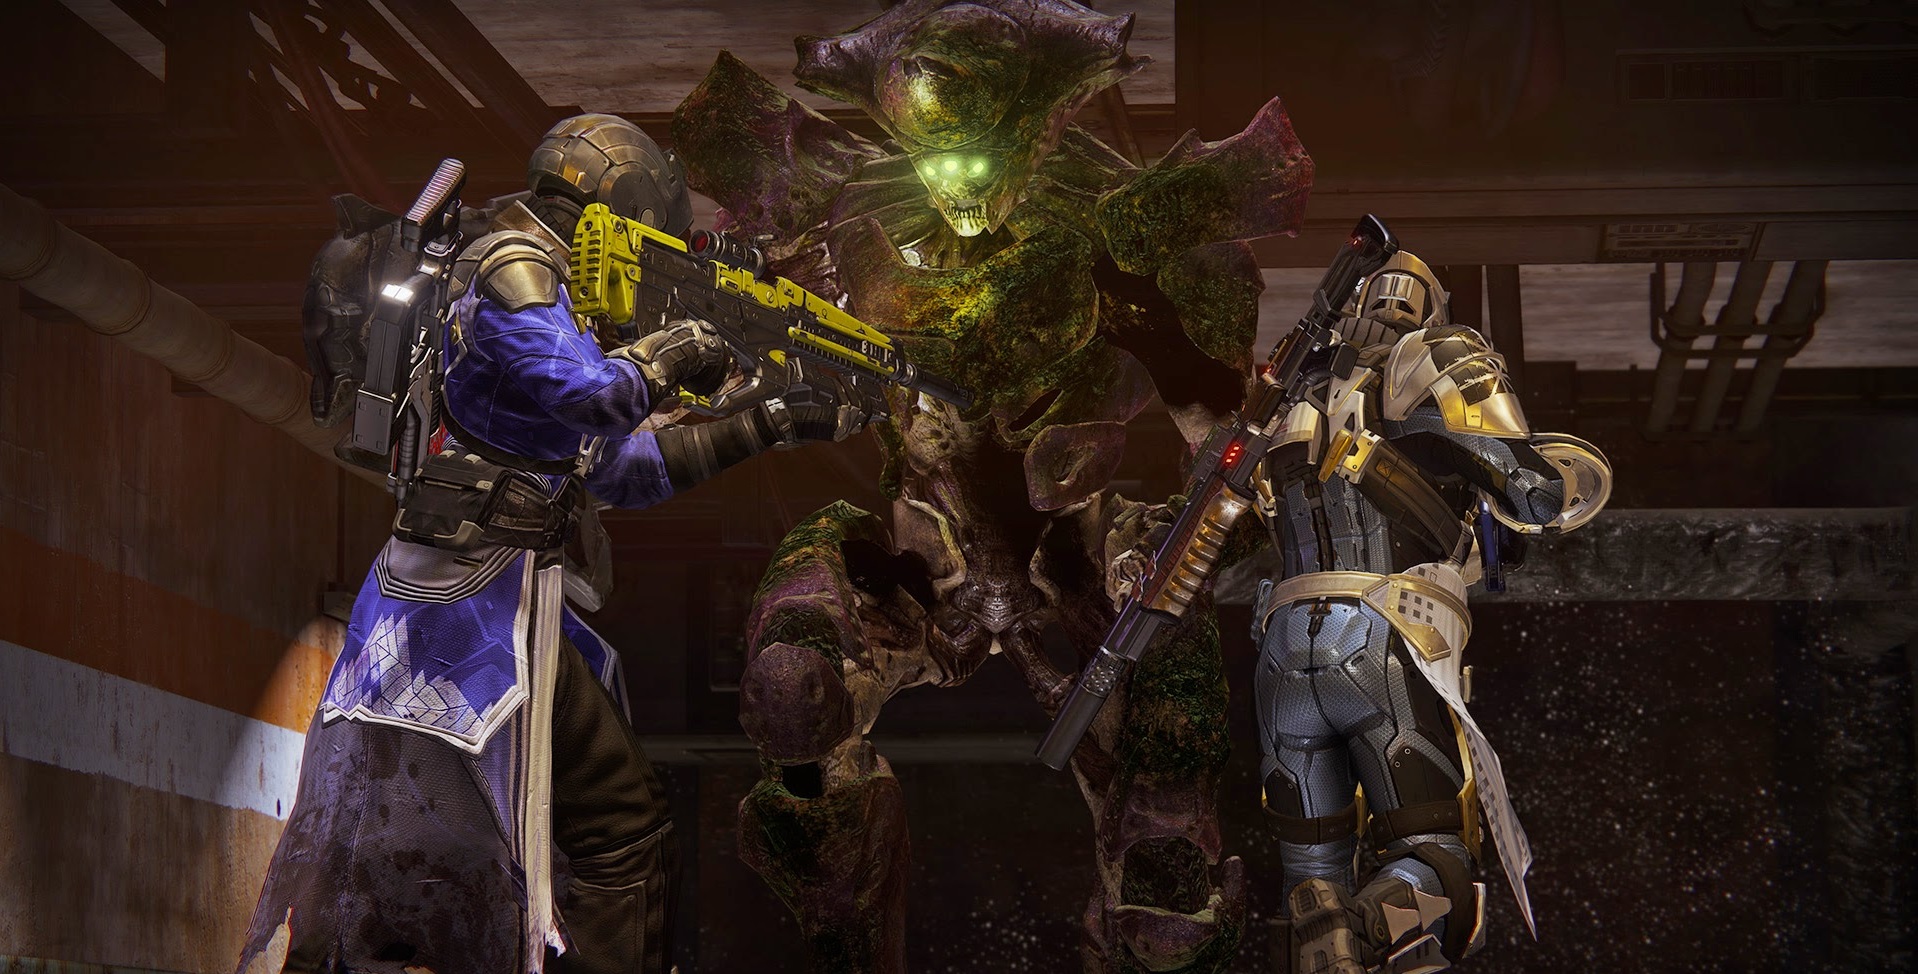
Silence Savanthun’s Song
Here’s a few tips and tricks to defeating Savathun’s Song.
- Whenever it’s static in the air, make sure you’re plugging it with power ammo and general shots to the eye. Be fairly liberal with your power weapons as the more damage you can get off in a short space of time, the better.
- Stick together for this one and don’t splinter off too much.
- There are phases when its eye closes and mobs spawn in. It’s incredibly important to focus on these mobs straight away and eliminate them quickly. Its eye will only open once you’ve cleared out all the enemies, so don’t worry about taking damage from the boss itself.
- Eventually some Ogres will spawn in, and it’s at this point you’ll want to hit them hard with your Supers to swiftly put them down.
- If you don’t have any Super available, stick behind cover and rapidly peek in and out to lay down some damage. Grenades and explosive power weapons work a real charm in this scenario.
- Remember, whenever you’ve cleared a wave of enemies, get ready to absolute swamp Savathun with damage.
- It’s essential that you’re looking out for a slow moving orb barrage. Savathun’s Song will being spawning orbs when it’s hurt and these will track you down and explode when they drawn near. This is capable of wiping an entire fireteam if you’re all bunched up, so make sure you shoot these orbs straight away to avoid getting put down.
- In the final stages you’ll have some Wizards to deal with. Ensure you take them out as quickly as possible and don’t underestimate how much damage they can lay down.
- Follow this pattern and the victory will be all yours!
NORMAL MODE WALKTHROUGH BELOW
Defeat the Ogre
Cross over the bridge and move into the chamber with the broken LED wall panel. Take on the group of Acolytes, move through the gap into the open lobby, then turn left and face off against more Hive. Take them out, but be wary of the glowing Hive traps scattered on the ground around here.
While your Ghost deals with the door, turn around and spray down a cluster of charging Thralls being led by a Wizard. We recommend using an SMG or Auto Rifle in this situation, while aiming for the head at all times.
When the door opens, take out the Thralls quickly before stepping into cover to the sides of the entrance. Everyone should chuck a grenade at the Ogre straight away then begin spraying his eye until he begins to charge a purple laser beam. When you see this revving up, immediately duck back into cover and wait out the storm. Avoid facing him when he’s unleashing his energy barrage as you’ll definitely need reviving afterwards.
Our most popular Destiny 2 guides:
The following links will take you to all of our Strike guides
- 1. Strikes – Destiny 2 Strike guide
- 2. Nightfall Strikes – Destiny 2 Nightfalls Strikes guide
- 3. Exodus Crash – Destiny 2 Exodus Crash guide
- 4. Inverted Spire – Destiny 2 Inverted Spire guide
- 5. Lake of Shadows – Destiny 2 Lake of Shadows guide
- 6. Pyramidion – Destiny 2 Pyramidion guide
- 7. Savathun’s Song – Destiny 2 Savathun’s Song guide
- 8. The Arms Dealer – Destiny 2 The Arms Dealer guide
Halt the void ritual
Deal with the Acolytes, avoid the Hive traps and proceed through the pink entrance corridor into the main hall. Turn left once you’re inside and decide who the toughest on your team is. Whoever that is needs to grab a void charge and run it towards an area just below the floating Hive Shrieker.
Two teammates should focus on killing the Shrieker while the other deposits the void ball into the receptacle. Try and resist the urge to trigger your Supers here as you may need them in the next stage.
The easiest way to kill the Shrieker is to duck behind cover a little, face it directly and spray it’s eye with an accurate Auto Rifle. You’ll hit so many crits it’ll go down quickly, while you’ve got the cover options to recover armour and health if need be.
Drop down into the pit that’s just opened and scan the object in the middle of the Hive nest. Now head into one of the side chambers from where you’re located in the pit. Fend off the Acolytes and a Knight, before chipping at the six glowing crystals embedded in the Hive cave. Once this is done, the Hive cave will become accessible. Make your way into it.
Focus your attention on the Ogres, followed by the Knights and Acolytes. Hive Wizards also make an appearance to back up the Ogres, so hang back and remove them all at range if possible. If you want to power through this section, don’t be afraid to execute a Super.
You’ll eventually come to another crystal cave where you’ll have to destroy another six crystals. After this is done, enter the upper mezzanine area and halt the void ritual – by doing lots of shooting…
Reach the Chasm of Screams
Get yourselves into defensive positions behind and around the low walls and tackle the nearest Acolytes and Knights straight away. Press forward into the mezzanine avoiding the traps as you go, and target the summoning ritual. Have one of your teammates take out the summoners while the other deal with the Knights and Acolytes.
Head into the lower mezzanine and prepare for another void charge run. Grab the void charge and stick together, using the scenery as cover. Hop on over to the white columns and planters so you’re less vulnerable to attack. Two teammates can launch their Supers here: one to demolish the Ogre and the other to hit the Shriekers while the void charge is being set.
When all this chaos subsides, head down the hallway and back towards the pit where two Wizards lie in wait. Remove them, and you’ll drop down into the Chasm of Screams – lovely.
Our most popular Destiny 2 guides:
The following links will take you to our most important guide hubs:
- 1. Guide – Destiny 2 Guide
- 2. Crucible – Destiny 2 Crucible PVP guide
- 3. Subclasses – Destiny 2 Subclass guide
- 4. Strikes – Destiny 2 Strike guides
- 5. Campaign – Destiny 2 Campaign walkthrough
Tips and tricks to defeat the Dark Heart
Weapon tips: We highly recommend taking in a Sniper Rifle, Scout Rifle, Rocket Launcher, damage over time grenades (Pulse, Voidwall, Vortex) and a close/mid range weapon of choice. All of these are perfect for dealing massive damage to the Dark Heart and minimising the trouble you’ll have with the mobs in between.
Rip your way through the Hive tunnels, and take your time dealing with them. You want all your Super charged for the final battle.
Enter the final chamber and peruse the area for areas you can use for cover. Once you’ve had a look around, get one of your teammates to crack open the large crystal in the center of the arena. It’ll reveal a Shrieker known as the Dark Heart.
Here are your three keys to success: Have one teammate solely focus on the Dark Heart, have one focus solely on the mobs, have the final teammate doing a bit of both.
Split up initially and strike the Dark Heart’s eye until it closes up. Acolytes and Knights will come streaming in, so take care of them. Once that’s done, the Dark Heart will open again and fly over to the opposite end of the balcony. There’s now going to be a constant conveyor belt of Acolytes, so follow the three person rule we’ve set out above.
Slowly whittle down the Dark Heart’s health bar with everyone sticking to their roles. Keep moving and jumping to avoid the Shrieker’s energy bolts. Once its health drops enough, two or three Ogres will appear.
When you see the Ogres, utilise your Supers and unleash their fury. They should go down quickly enough that you can turn back to hitting the Dark Heart within a few seconds.
Don’t get cocky and underestimate the Thralls that’ll be throwing themselves at you throughout the entire boss fight. We’ve been guilty of this ourselves and attempted to bat whole waves of them away with just our fists – it didn’t work out. Instead, it’s far more effective to retreat a little from clusters of Acolytes and Thralls before spraying them down. This way you’ll have a much greater chance of surviving the Dark Heart’s attacks too.
Keep following the same plan until the Dark Heart loses two thirds of it health. Now it’ll teleport away onto a floating platform – another ritual is taking place. Designate two teammates to tackle the Wizards, while the most nimble grabs the void charge on the main balcony and leaps their way up to this upper platform.
Slot the charge in and the Dark Heart is no longer invulnerable. It’s now a real war of attrition as you duck into cover, pop out and shoot the eye, dealing with any Cursed Thralls that appear. It’s a little easier at this stage as you can all focus the eye more than before. Launch your Supers if you’ve got any up and once it’s down – Strike done!
