Overwatch: Sigma guide – Tips, tricks and strategy advice
Our essential guide to playing Sigma.
Our Overwatch Sigma guide contains ability and strategy tips, as well as everything else you need to know about mastering the eccentric astrophysicist.
Overwatch’s latest Tank Hero, Sigma, is one of the most complicated characters in the game, with his varied kit and differing utility depending on the state of the game. Since his release to the live servers, we’ve put together a guide to help you make the most of his abilities and harness the power of gravity for yourself.
Keep in mind: Sigma is a very different character to the existing Tanks, especially now that the community has begun to embrace the barrier meta. He’s simultaneously a bullet sponge and damage dealer, but use his abilities suboptimally and you won’t last very long at all.
As he touts a fairly high skill floor, we’ve put together a guide to help you make best use of his abilities. He’s a popular character at the moment, so you’ll want to get to know how he works regardless of whether or not you want to try playing him.

Sigma’s Weapon – Hyperspheres
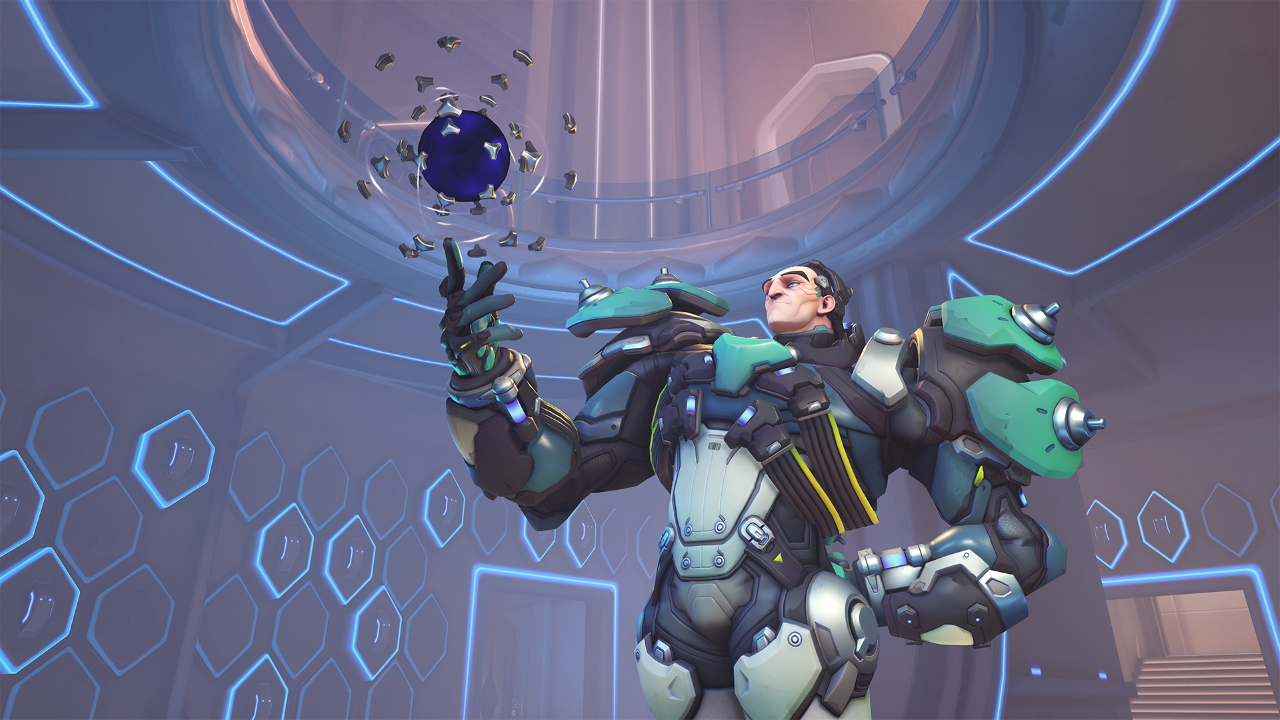
The primary fire for Sigma and the thing you’ll be using as much as possible is his Hyperspheres. Two pulsating orbs suspended in Sigma’s hand are thrown out which implode after a set time, or on impact. Each orb deals a maximum of 60 damage with both the impact and implosion combined, meaning with skill and practice you’ll be taking chunks out of enemies at a breathtaking pace.
They’re a tough one to master though. They explode after travelling 20 in-game metres, and getting the hang of this distance is key to playing Sigma effectively. It takes a while, but when you can accurately predict and respond to enemy locations with your own spacing, you’ll be dishing out enormous damage. At close range, things are a bit tougher, as you’ll be forced to land direct hits lest the spheres ricochet harmlessly past your foes. Aiming at the floor helps in certain situations, as it’ll bounce them into the path of your opponents. Be warned – the implosion can damage Sigma himself, so get a bit of distance before you start firing them at enemy barriers.
Tips
- You can bounce your balls off walls and around corners, hitting enemies even when they think they’ve reached safety.
- Sigma deals a hell of a lot of damage, and you’ll want to focus on targets you can finish off swiftly. Think enemy healers on the back line, or an overextending DPS.
- With a quick flick of the wrist you can hit two separate targets with each click, useful for finishing a couple of damaged enemies in quick succession.
Sigma’s Abilities
Like every hero in Overwatch, Sigma has unique abilities he can call on during fights to turn the tide of battle:
Experimental Barrier
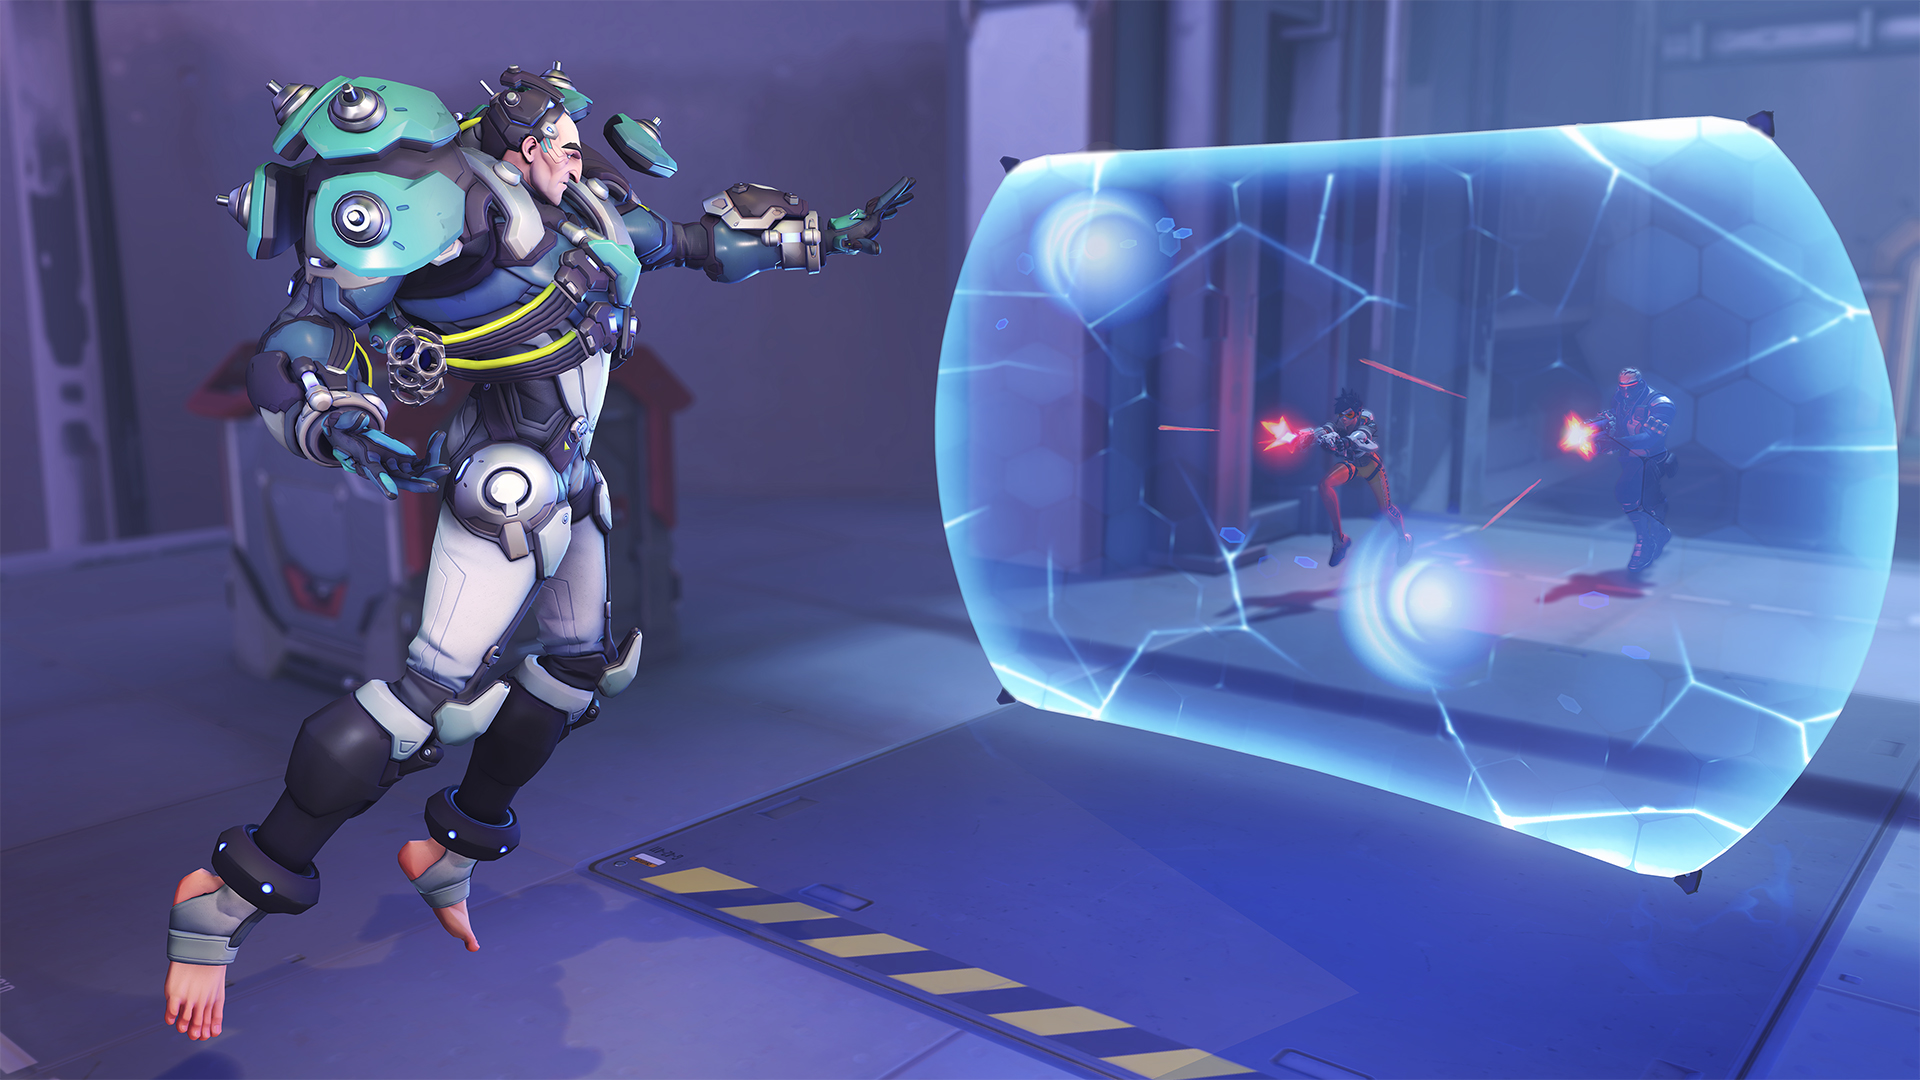
Starting simple, this barrier is a key element of Sigma’s kit and is an essential part of his team role. He projects a 1500-health barrier in front of him that continues moving, quite quickly, until it hits a wall or he releases the button. It can also be recalled in an instant and sent out again immediately.
One thing to note is that you can’t fire your Hyperspheres whilst the barrier is moving, but tap the button to recall it and your fire won’t be interrupted. Also, like Reinhardt’s barrier, it can’t regenerate while it’s deployed, so use cover wisely and recall it while you wait for your shield’s health to recover.
There’s no cooldown at all for this ability, and it only takes a fraction of a second to go from recall to sending it back out, meaning you can keep relocating it as your team pushes.
Tips
- Try to keep your shield’s health topped up for when you need to protect your team by combining a shield push with Kinetic Grasp to halt enemy fire and make you even tankier.
- Sigma’s Experimental Barrier is extremely flexible, and can be suspended in midair or even propelled directly into the enemy’s face. Keep switching up your ability usage as it’ll keep your opponents guessing. Being unpredictable as Sigma is key.
Accretion
Sigma gathers a pile of rocks and debris, and tosses it in front of him, dealing 80 damage on impact and briefly knocking the opponent down. This projectile is absolutely huge, and really hard to miss, especially at close range. It takes about a second to fire, and has a 10 second cooldown before you can use it again. This is pretty hefty, so use it wisely. The rock deals splash damage to enemies next to the hit, but does not knock down without direct impact.
Tips
- Knocking an enemy down disrupts their action, so thumping a McCree who is trying to use Deadeye will stop him in his tracks, for example. Use this ability wisely to interrupt important enemy abilities like Reinhardt’s Charge, or even Ultimates like Moira’s Coalescence.
- The enemy will stay grounded for longer if you hit them from further away. Be sure to arc your shots slightly when using this ability at longer range.
- Accretion is NOT stopped by D.Va’s Defence Matrix. It is pretty big, so we’re not surprised.

Kinetic Grasp
One of the more complex aspects of Sigma’s kit, Kinetic Grasp, absorbs enemy attacks in front of him and transforms it into shields. A huge potential swing in a team fight, 40% of absorbed damage is transferred into protection for yourself. Remember, Kinetic Grasp is for personal use. Sigma’s front is protected, but not the area around him so you can’t protect your team with it. Instead, place the Experimental Barrier in a location that’ll protect your teammates whilst simultaneously absorbing enemy fire with Kinetic Grasp.
You can’t redeploy the Experimental Barrier or fire your Hyperspheres while casting Kinetic Grasp, but you can recall the barrier and cancel the move into Accretion if you wish.
Tips
- Alternate pushes with your Experimental Shield and Kinetic Grasp. If you combine the two, you’ll be able to close a great distance between you and the enemy. Throw out the barrier between redeployments of your Experimental Shield to break through choke points your enemy has locked down.
- You can absorb some Ultimates with this ability. Pharah’s Ultimate, for example, is a great one if you can get close enough to her, as it’ll beef up your health and massively alter momentum.
- This ability can block Roadhog’s Chain Hook, but with its 13-second cooldown you’ll want to get a bit more value out of it.
Ultimate – Gravitic Flux
For his Ultimate, Sigma can fly up into the air, select a circle on the ground, and use his gravity powers to lift enemies up, suspend them in midair for a couple of seconds, and slam them down.
As with all Ultimate abilities, this one has to be used smartly to be most effective, and is even better when your team is on board and knows what you plan on doing. Initially, 50 damage is dealt to all enemies in the area, and upon their grounding a further 50% of their maximum health is chunked off, regardless of the character. If your team can just get each enemy down to half health, you’ll be able to finish them off with a big slam dunk.
Tips
- After your opponents are hoisted in the air, you can fire your Hyperspheres at their immobilised hurtboxes. This should make it fairly easy to go for kills, so prioritise important squishy enemies like DPS and Healers. The subsequent half damage dealt to Tanks will let you finish them more easily afterwards.
- Don’t get greedy and try to catch the whole enemy team in Gravitic Flux. Sometimes, it’s better to get their backline killed off quickly and leave the rest of them a couple of fighters down.
- You stop being able to fly after the slam down of Gravitic Flux, so don’t position yourself over a pit, or in the middle of the enemy team!
The people over at Your Overwatch made a great breakdown of these abilities combined with in-game clips, and you can watch it just below:
Do consider giving them a thumbs up if you found it helpful!
Sigma Lore Overview
Dr. Siebren de Kuiper was a brilliant and trailblazing astrophysicist. His lab in The Hague was host to him for most of his career, but for a final, vital experiment he ventured out to a space station.
Unfortunately, the experiment went west. It’s almost like trying to harness the power of black holes is a dangerous idea with terrifying consequences. Being exposed to the black hole he created, despite being only momentary, caused de Kuiper major psychological damage, leading to his hospitalisation and later quarantining.
He was detained by the government for years, and was unable to control his powers of gravity manipulation. Upon discovering this, the Talon organisation broke him out of the facility, and began using his power to further their own ends. Now, he’s gaining more and more control of his powers, but Talon’s influence continues to tighten. The poor guy is unaware they are exploiting him for their nefarious schemes.
You can watch the Origin Story trailer here:
