
StarCraft 2 guide 2017 – Free to play for beginners, strategy tips and build orders
Everything you need to know about the game now it's free to play
Our Starcraft 2 guide 2017 contains beginner tips and tricks, free to play details, strategy advice and build orders for the Terran, Protoss and Zerg races.
StarCraft 2 is about to be re-released as a free to play title, allowing everyone to get a complete piece of the multiplayer action, as well as play through the Wings of Liberty Campaign. Although Blizzard’s RTS isn’t quite the competitive powerhouse it once was in the wider esports picture, it still has a thriving community of players – and that should only get bigger with the relaunch in front of us.
Whether you’re a lapsed player who’s forgotten everything they ever learned about the game, or you’re completely new to the franchise, we’ve got a guide that will get you up to speed on all of the basics of playing StarCraft 2. If it proves popular, we’ll expand on it over time with more advanced guides, although for now we think this’ll get everything up to speed nice and quickly.
Navigation:
Use the following links to quickly navigate to the section of the guide you’re most interested in right now!
1. FAQ – General and Free to Play
FAQ – General and Free to Play
Before we dive into the detail, here’s what’s what about both the game and the free to play re-launch.
StarCraft 2 General FAQ
- StarCraft 2 is a real-time strategy game developed by Blizzard
- There are three races you can choose from in StarCraft 2: Terran, Zerg and Protoss.
- The objective in any given match is to eliminate the opponent’s structures and units using your own collection of fighting forces.
- You begin each match with a number of worker units who are capable of gathering basic mineral resources for you. These can be used to start harvesting other materials, and combined these resources are used to build increasingly powerful units and structures.
- A supply cap exists in the game, forcing you to build supply structures in order to continue building new units.
- As you progress into a match, you gain the ability to research new technologies to increase your unit options. Each race has its own tech tree to explore in this regard.
Free to play FAQ
Here’s the lowdown on what the free to play version of StarCraft 2 entails, both in terms of what it provides, and what its limitations are:
- If you’ve not purchased the game before, you’ll be able to download the first of three single-player campaigns for the game called Wings of Liberty.
- Those who have previously purchased Wings of Liberty will be able to download the Heart of the Swarm campaign for free as an alternative. If you want to buy any of the other single player campaigns, they’ll cost $15 each.
- All players who have purchased an expansion in the past will receive a handful of new in-game portraits, as well as an exclusive Ghost skin.
- Regardless of what you might or might not have purchased in the past, everyone will have full access to the multiplayer element, including all units from every expansion. Nothing from the StarCraft 2 experience will be locked out in this area of the game.
- To preserve the integrity of the experience, accessed to Ranked mulitplayer will only be unlocked once new players have won at least one AI or Unranked multiplayer match across 10 separate days.
- In Co-Op mode, players will be able to use three free Commanders: Artanis, Kerrigan and Raynor. You can play other Commanders up to Level 5, however you’ll have to purchase them after that.
Races
As mentioned at the start of this guide, there are three different races in StarCraft 2. Each one has a different selection of units to produce as the match develops, as well as a tech tree to pursue which lets you manufacture new units and structures.
Here’s the lowdown on each one. Whichever one you decide to start with, we highly recommend that you spend some time studying the pages we’ve linked to over at the official Blizzard site. Although it’s not essential that you memorise every last detail, you are strongly encouraged to at least familiarise yourself with the concepts in each case.
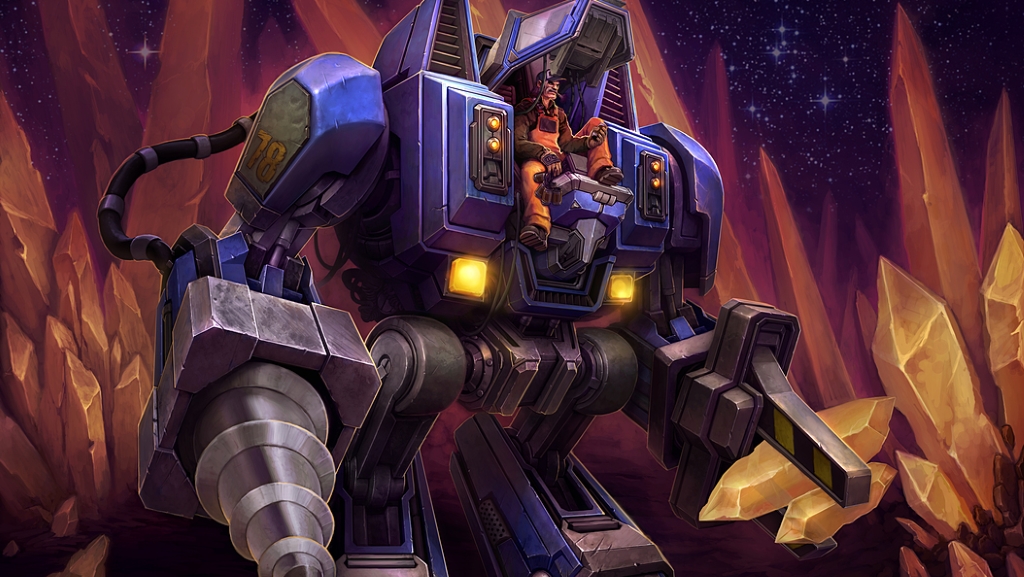
Terran
Terrans are the Humanoid race in StarCraft 2. They have a rather average unit cost, and their buildings can be built pretty much everywhere. They have good defense and mobility overall, and can repair both buildings and units.
You can find out more about the Terran – and its individual units and tech tree – by visiting Blizzard’s official Terran page.
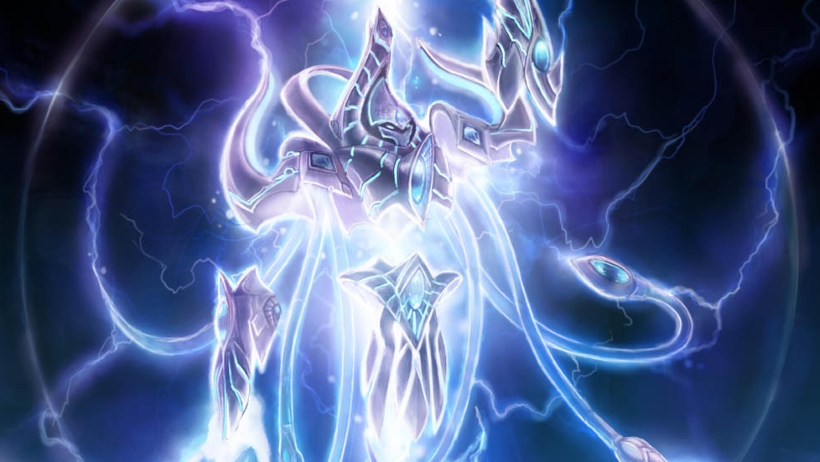
Protoss
Protoss units cost more on average but are extremely powerful. Any buildings created must be within a certain range of a Pylon, units can be warped into combat, and all structures and units have a shield which regenerates over time.
To learn more about the units and research options for the Protoss, take a look at Blizzard’s official page for the race.
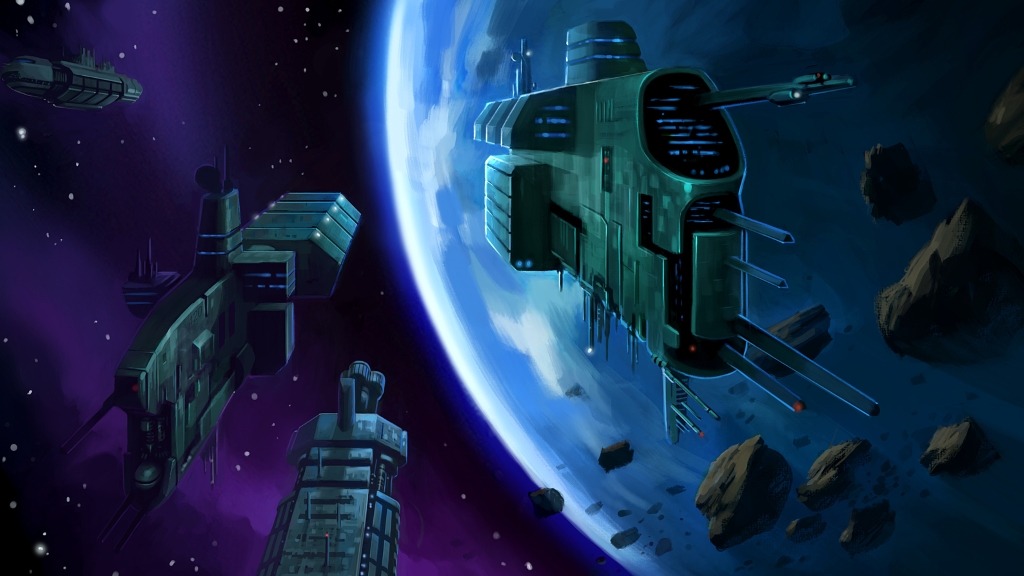
Zerg
The Zerg race produce low-cost units in mass quantities and have one production building to manage. Buildings have to be built on a surface called creep, but this provides a speed advantage to friendly units travelling upon it.
For an overview of all of the units and tech tree lines available to the Zerg, head over to the official StarCraft 2 site.

Economy
There are three important elements to consider in the StarCraft 2 economy: Minerals, Vespene Gas and Supply. Minerals are the most primitive resource, Vespene Gas is used to build advanced units, and your Supply level limits how many units you can field at any given time.
Minerals
When you begin a match, you’ll have a patch of minerals to harvest and units to start the harvesting process. You are encouraged to keep building a number of workers to ensure the harvesting rate increases over time. Note that certain yellow-coloured Mineral fields grant a greater yield, although you shouldn’t worry too much about this in your early days.
Vespene Gas
The green Vespene Gas geysers allow you to harvest a second mineral, but each race has to build a specific structure on top of the gas patch first. Get extraction of the gas up and running very quickly in each game, as you’ll need it sooner rather than later.
Supply
You can increase the Supply value of your base by building certain structures nearby. Should you find yourself unable to build a new unit because you lack Supply, you are considered Supply-capped. You should avoid this situation at all costs!
It is vital that you grow your economy continuously throughout each match, harvest more and more resources, and ensure you have the necessary Supply infrastructure in place at all times. By managing all three of these elements, you hope to use your resources and production in as efficient a manner as possible.
It’s a lot to juggle, and our Macro and Micro section below contains more information about building out your fighting force.
Macro and Micro
Two of the terms you’ll hear mentioned a huge amount in discussion of StarCraft 2 are the twin pillars of the game’s strategy: Macro and Micro.
Put very simply, Macro concerns the maintenance of your economy (keeping workers busy, resources flowing and so on), as well as the growth of your overall fighting force, pursuing whatever pre-determined strategy you’ve decided to work towards.
Micromanagement, on the other hand, refers to the more fiddly business of controlling individual elements of your army, or groups of fighting units.
It is absolutely vital that you pay close attention to both of these elements, and continue doing so at every stage of any given match. Fail to do so and you might find yourself starved of resources to rebuild after a fiddly, losing battle. Spend too much time playing SimCity, on the other hand, and you’ll lack both the intel and means to defend against your opponent’s mounting forces.
Take comfort from the fact this process comes naturally to nobody, and in each match you should simply focus on trying to do one thing better than you did in the previous match. If you keep practising in this way, then you’ll eventually find yourself passively improving at monitoring both elements of the game. It’s a painful learning process, but a necessary one and you will get better if you persevere.
To make things a little easier on yourself, it’s important to go into each game with something called a build order in mind. The following section contains a little more information on this point, as well as a beginner’s example for each race.

Build Orders
Build orders are quite simply your pre-determined production plans for the earliest stages of the game – what you’re going to build and when you’re going to build it. This ensures you have a goal to work towards, and helps you work efficiently towards achieving it.
There are more build order options out there than we could possibly summarise in any one guide such as this, but we wanted to highlight a solid starting list for each race that you can use to get going with. In each video you’ll find a versatile build order that should serve you well in all of your early match-ups.
This is one area where you can take a little time to play against the AI, getting the flow of your hotkey and control groups together (see further on in this guide), while starting the process of building a super-efficient and robust economy. Again, just don’t get addicted to stomping easy AI opponents in this way, and get back into real multiplayer at your earliest opportunity!
If you commit your chosen build to memory, you will find yourself at a huge advantage in the early stages of the ladder climb. Having a solid plan in place will also free you up to focus on honing your other skills in the early days.
Terran
Protoss
Zerg
Hotkeys and Control Groups
If you do not make use of hotkeys, you are always going to be at a permanent disadvantage to anyone who does – even if (all things being equal) they’re an inferior player to you. It takes time to move between multiple UI elements, after all, moving your mouse and then clicking. How much better it would be if you could simply tap a button and head straight to your unit or structure of choice!
Fortunately, StarCraft 2 provides an extremely flexible system for assigning hotkeys on the fly, and you are strongly encouraged to do so right from the very beginning of your time with the game. That way you minimise any bad habits you might pick up, and reduce the amount of time between the decisions you make and the actions you take.
Hotkeys
If you examine the StarCraft 2 interface then you’ll notice that every unit and structure has a hotkey assigned to it. You should commit every one of these to memory, and then get into the habit of using them – no mouse! – to select and then execute your desired production. This will help you spend your resources efficiently, without wasting any time either looking down at the keyboard or introducing unnecessary and time-consuming mouse movements to the production process.
Although not as precise or useful, you can also assign location-based hotkeys using the F5-8 keys. Just hold down Control when you’re at a location you want to remember and hit one of the available F keys. This way you’ll be able to tap on the key whenever you’re somewhere else, and come whizzing back into view.
Control Groups
Control Groups are another vital element of playing StarCraft 2 competitively. Entire guides could be written on the subject, but for the purposes of our beginner’s guide we’re going to give you a basic overview. We’ll expand on this section if the guide proves popular.
Put simply, Control Groups allow you to assign units and structures – individually or as groups – to the 0-9 keys, which in turn allows you to very quickly jump to whatever area of the game you need to oversee immediately. You might want to keep tabs on a scout you’ve sent patrolling for example, jump quickly back to your base to check on your resource situation, or just keep the factory lines rolling with new production orders.
To assign a unit to a Control Group, simply select it, then hold down Ctrl and 0-9. To add additional units to that same group, select them and then hold down Shift and the number in question. It’s a bit fiddly at first, but you’ will’ll get used to it quite quickly.
(Note that if you want to select multiple units of the same type very quickly, double-click one of them. This will add all of the units of that type that are currently visible on-screen to the selection. You can also hold down Ctrl and click one of the target units to achieve the same result.)
Control Group Suggestions
There are many, many ways of assigning Control Groups, but here are a few selections that are generally considered very useful to have quick access to. Remember that a double-tap will zip the screen right over to the item you’ve assigned.
– If you’ve decided to send one of your workers out early on as a scout, have them on a Control Group. This will allow you to quickly zip over and find out what they’ve uncovered about the enemy’s plans.
– Have your Command Center, Hatchery or Nexus assigned to a Control Group. This lets you get back to base quickly to check on the state of production and resource gathering.
– If it produces a fighting unit, have it on a Control Group. This will allow you to keep production rolling rapidly, without you having to revisit the base. Simply select the group then choose your production option using the hotkey options.
– Your individual armies should be assigned to their own Control Groups as well. That way if they run into trouble you can quickly jump over there and undertake some vital Micro work, or just ensure they live to fight another day by cleanly running away! Having these units on groups also means that if you send out an attacking force yourself, you don’t have to anxiously babysit them the whole way there, when you could be doing something more productive.
Tips, tricks and strategy advice
Here are some general tips and tricks that the starting StarCraft 2 player would be well advised to take on board!
1. Master hotkeys and Control Groups – we mean it!
This will allow you to assign multiple units to the same shortcut, which you can then easily switch between to stay on top of the action taking place right now. If you have access to the single player mission content, we actually recommend playing through the campaign using your preferred hotkeys and control groups.
Take our challenge and advice here: from your first multiplayer game onwards, select nothing with your mouse. You’ll suffer for it in your early games, but will be highly incentivised to get on top of things much more quickly. Pain is a great teacher, after all…
2. Avoid playing the AI
Do not spend too much time playing against the computer when you first fire up StarCraft 2. By all means rattle off a couple of AI matches to get used to the basics of playing from a fresh start, but you have nothing to lose and everything to gain by getting stuck into matches against real-life opponents.
Yes you’re going to lose a few at first (read: a lot), but you will learn so much more this way. You’re not here to dominate – not yet at least – rather, you’re here to learn something new each match, and which you’ll take with you into the next battle.
3. Deal with players who turtle
You are going to go up against opponents who turtle (that is, hide themselves within ludicrously over-defended bases) from time to time. Don’t waste all of your precious fighting forces – and by virtue of those, your resources – sacrificing everything into their heavily fortified defenses on a rolling basis.
Play the long game instead and be a little more daring. Get out there and expand mercilessly, with more bases and units so as to drop an overwhelming show of force onto them once you’ve dominated the map. There are limited resources in every match, and whoever owns the greater share of them generally wins in the long run.
4. Use Attack-Move
Assuming you are moving on the offensive and not running away from a badly lopsided encounter, always use Attack-Move instead as this ensures that your army gets to fire first when it comes across an enemy unit.
The only exception to this rule (beyond when you’re running away), is if you need your units to target something particularly problematic in the opponent’s army before mopping up the rest of their units. In general though, Attack-Move will give you an advantage in low-level matches. Make it your default action, then learn when to break the rules to suit.
5. Get used to Shift-Queuing
Take some time to master the concept of Shift-Queuing, as this will take much of the pain out of your Macro game (see further up the page). This powerful system allows you to assign an activity to one of your units, then have it scoot off and start another job immediately after completing the first task your assigned
To Shift-Queue, simply select the unit, hold down Shift, issue one order, and then issue another order without letting go of Shift. This is especially useful in the early game when you’re racing to set up a robust economy, and where you don’t want to lose a fraction of a second in efficiency to your opponent.
That wraps up the first edition of our beginner’s guide to StarCraft 2. If the guide proves popular, we’ll expand on it in much greater detail in a future update.
