
Our continuously updated guide to dominating Overwatch's Hanamura map.
Hanamura is an Overwatch map that provides an exceptional challenge for attacking Heroes to overcome, while providing the defending team with a delicious array of sniping spots and turret positioning options. Momentum is key for both teams when playing on Hanamura, and the team that plays things recklessly will quickly find themselves overwhelmed – often beyond recovery if the players refuses to learn from their mistakes and repeat a failing strategy.
For that reason, we’ve put together a quick Hanamura guide which should help increase your odds of success, even when you’re playing with random teammates, where communication can often be problematic. For both attacking and defending teams, we think there should be something in here that makes life a little easier.
Keep in mind that this is a guide-in-progress, and we’ll be regularly updating this article as the community uncovers new tips and tricks for success. If you’ve a few sneaky tips of your own, let us know in the comments section so we can add them the next time we update this guide.
Editor’s note – June update #1: We’re in the process of updating all of our map guides now that we’ve had a bit of launch time with Overwatch. For our Hanamura guide, we’ve now included some of our favourite sniping spots in the game. Check out the gallery we’ve added to this article, and let us know of your own favourite spots too – we’ll add them next time we revise this guide.
BREAKING! – From start and end dates to Skill Rating changes, our Overwatch: Season 3 guide contains everything you need to know about the next period of competitive play!
Hanamura tips
- When defending on Hanamura, focus your early attention on setting up solid defenses to hold the big double-gate area. Chances are the attacking team will have very few options for bypassing this passageway that leads into the next part of the map, so you’re better off making sure you guard this area than pushing too hard into the enemy spawn area.
- Because of this particular chokepoint, it’s highly recommended that you have at least one Bastion or Torbjorn focused hard on the area. Try to find some cover before taking position – if the enemy can’t cut bring you down quickly then they’ll become an endless stream of sitting ducks just waiting to be picked off. Any defending team will benefit from a Widowmaker for similar reasons.
- For both of the reasons listed above, making meaningful progress as the attacking team can be extremely difficult on Hanamura. The key here is to maintain momentum and capitalise on any advantage you can gain early on. If you manage to kill any of the defending team right by your spawn point, push forward quickly as a team as you’ll have less defenses waiting for you at the gate. Any shields you can bring to this part of the fight will be enormously helpful.
- If you’re attacking, don’t get distracted by greedy kills if someone on your team is starting to capture the point. Unless you can finish the kill quickly, get back and help your team take the point faster. The same advice can apply to the defending team too, as an undefended point can easily be stolen from right underneath your nose.
- In the second phase of the map, the defending team should once again ignore the immediate section just before the capture point and set up strong defenses in the objective room. There are simply too many opportunities for the enemy team to flank and take you out otherwise – you don’t have as far to run from the spawn room now, but it is easy to get quickly overwhelmed on this map.
- As the defending team, you will do well to take your positions in the higher balconies of the objective room. From here you have plenty of hiding spots to snipe or mount turrets, but do watch out for flankers launching an ambush through the corridors. If you see someone breaking off to do so, make sure you alert your teammates. Again, snipers are great for picking off approaching enemy Heroes fast, and before they can start worming their way around and towards your backline.
- Just as it was in the first section of Hanumara, it’s absolutely vital that the attacking team coordinates with one another. It is almost always sensible for a team member to hold back and wait for their team to return before trying to single-handedly storm this defense. Strength-in-numbers is the key for making progress, and surviving the initial attempt to breach the final objective.
More great Overwatch map guides:
Our most popular Overwatch guides:
- 1. Tier List – Overwatch Tier List
- 2. Year of the Dog – Year of the Dog guide
- 3. New Legendary Skins – Year of the Dog Legendary Skins
- 4. Lunar New Year Start Time – Year of the Dog Start Time
- 5. Ayutthaya – Ayutthaya guide: Tips, tactics and strategies
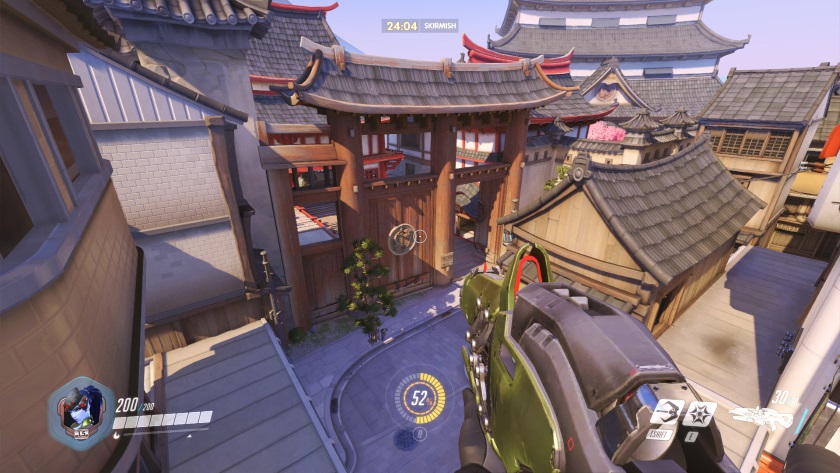
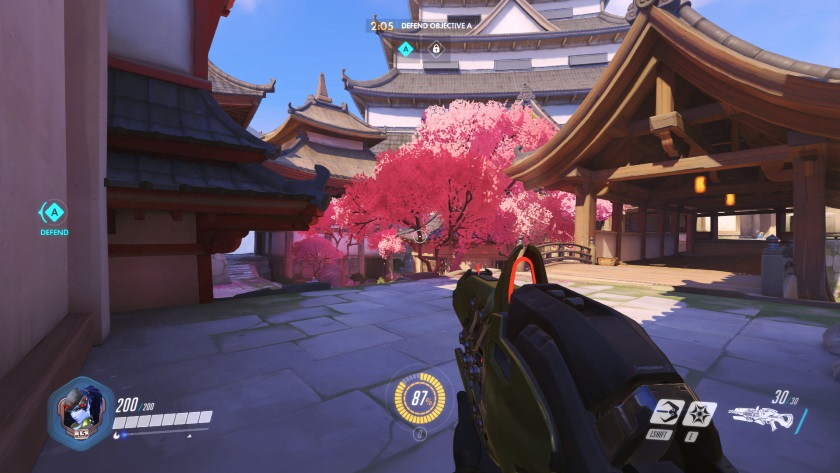
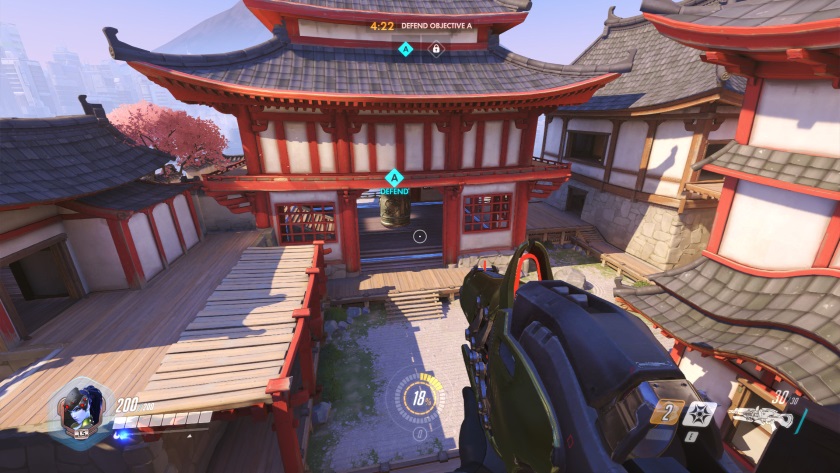
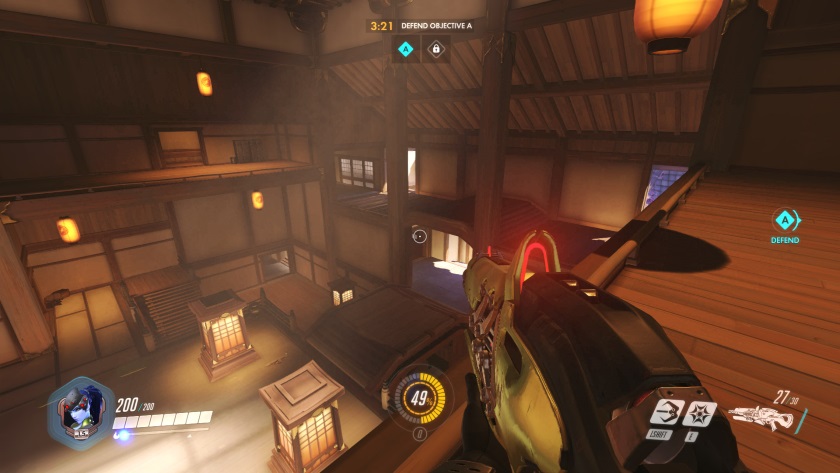
Hanamura sniping spots
There are countless opportunities for the canny sniper to make their mark on Hanamura. Here are some of our favourite hiding places. Remember to keep moving!


Hanamura team comps and builds
You’ll find the Heroes outlined below perennially useful on Hanamura. In random groups we encourage you to take two Tanks, two Supports and two Defense/Offense Heroes. We provide a primary pick for Support and Tank that should always be used, while the second can be selected based on personal skill. Skill levels should also determine the final two picks.
If you need a helping hand putting a team together for Temple of Anubis and Volskaya Industries, take a look at our guide to all of the best Assault map team comps and builds. As always, it’s updated constantly to match the latest developments in the Overwatch metagame.
Attacking
| Hero | Role | Guide |
|---|---|---|
| Reinhardt (Primary) | Tank | Reinhardt guide |
| D.Va (Secondary) | Tank | D.Va guide |
| Roadhog (Secondary) | Tank | Roadhog guide |
| Lucio (Primary) | Support | Lucio guide |
| Mercy (Secondary) | Support | Mercy guide |
| Zenyatta (Secondary) | Support | Zenyatta guide |
| Genji (Skill Level) | Offense | Genji guide |
| McCree (Skill Level) | Offense | McCree guide |
| Pharah (Skill Level) | Offense | Pharah guide |
| Reaper (Skill Level) | Offense | Reaper guide |
Defending
| Hero | Role | Guide |
|---|---|---|
| Reinhardt (Primary) | Tank | Reinhardt guide |
| D.Va (Secondary) | Tank | D.Va guide |
| Roadhog (Secondary) | Tank | Roadhog guide |
| Lucio (Primary) | Support | Lucio guide |
| Ana (Secondary) | Support | Ana guide |
| Zenyatta (Secondary) | Support | Zenyatta guide |
| Junkrat (Skill Level) | Defense | Junkrat guide |
| Genji (Skill Level) | Offense | Genji guide |
| McCree (Skill Level) | Offense | McCree guide |
| Pharah (Skill Level) | Offense | Pharah guide |
| Reaper (Skill Level) | Offense | Reaper guide |
Hanamura Health Pack / Medikit locations
We’ll be bringing you a gallery with clear Medikit locations on Hanamura once Overwatch is live, but for now, here’s a YouTube video which highlights where you can find them all.
