
UPDATED: Now contains a list of all bosses, treasures and some tips too!
Our Hearthstone Monster Hunt guide contains tips for all the bosses, treasures and rewards contained in the Witchwood adventure.
With the new Witchwood meta in full swing right now, it’s time to start turning our attention to the new single-player Hearthstone content that’s expected to be released in just over a week from now. The name of this new adventure is Monster Hunt, and it highlights some of the grizzlier Gilnean inhabitants in a mode that looks very similar to last year’s Dungeon Run.
In this Monster Hunter guide, you’ll find details of everything we currently know about the new mode. First up is a list of the bosses you’ll encounter in the Monster Hunt, followed by a look at the four unique heroes. Finally we’ve got a general overview of what we know about the mode, as well as separate sections which feature all the Treasures and Rewards you can earn too.
Now that Monster Hunt’s live we’ve been tearing through the encounters and compiling as much information as possible down below!
UPDATE: Monster Hunt – Boss Strategies and All Treasures!
Once again, we’ve hit this guide with even more strategy goodness. Under every boss you’ll find some tips and tricks to help you defeat them, with individual pages for the Nemesis bosses and Hagatha on the way very soon!
On top of this, we’ve also made sure that every single Treasure has been listed on this page and our individual Hero pages are bang up to speed with the latest strategy advice.
Additional Writing Credit: Many of our boss strategies and individual hero page updates come courtesy of the brilliant James Pickard, another fellow Monster Hunter who’s probably fallen victim to Face Collector as much as we all have.
Monster Hunt: Monsters and Bosses
Many of the encounters that will feature in Monster Hunt have been datamined by the community since the live release of The Witchwood expansion. We list them all in this section, but please keep in mind that there are spoilers throughout and the list will be expanded on over time.
These encounters are “tiered” as well, meaning you’ll be facing certain monsters earlier on in the Hunt than you will later on. This helps to ensure there’s some semblance of fairness and balance as you slowly build your arsenal of cards and treasures.
There are also Nemesis bosses exclusive to each of the four Monster Hunters. They’re particularly tough final boss encounters, and we’ve marked known Nemesis monsters with an asterisk in our list. Once we’ve discovered them all, we’ll pop them all into the list and sprinkle them with some strategy advice too. For now, just bear with us as we compile a complete list of all the bosses you’ll face!
Now that Monster Hunt’s live, we’re busy playing the mode and we’ll add in tips for each encounter as we go. If you need some help, use the links below to jump straight to the boss fight you’re about to tackle!
- A Mangy Wolf
- Azalina Soulthief
- Baran the Blind
- Beastly Pete
- Blood Witch Gretta
- Brushwood Centurion
- Captain Shivers*
- Chupacabran
- Craggtorr
- Crooked Pete
- Cultist S’thara
- Cutthroat Willie
- Doctor Sezavo
- Experiment 3C
- Face Collector
- Forlorn Lovers
- Garrow the Rancorous
- Glinda Crowskin*
- Gnarlroot
- Gnomenapper
- Gobbles
- Gravekeeper Damph
- Griselda
- Groddo the Bogwarden
- Grubb the Swampdrinker
- Grum
- Gustave the Gutripper
- *Hagatha the Witch*
- Infinite Toki*
- Inquisitor Hav’nixx
- Lord Godfrey*
- Manhunter Ivan
- Niira the Trickster
- Plaguemaster Rancel
- Raeth Ghostsong
- Ratcatcher Hannigul
- Ravencaller Cozzlewurt
- Rottooth
- Sazzmi Gentlehorn
- Sephira Dusktalon
- Shudderwock
- Splintergraft
- The Mute
- The Scarecrow
- The Whisperer
- Vitus the Exiled
- Wharrgarbl
- Winslow Tobtock
A Mangy Wolf

- Name: A Mangy Wolf
- Health: 15
- Hero Power: Guttural Howl (1 Mana) – Give a random minion in your hand +1/+1.
There’s not much to this boss. Establish early board presence if possible and hit face if there’s only one or two of its minions on the board. Eventually you’ll find an opening with a Spell or simply deal just enough damage to finish this boss off.
Azalina Soulthief
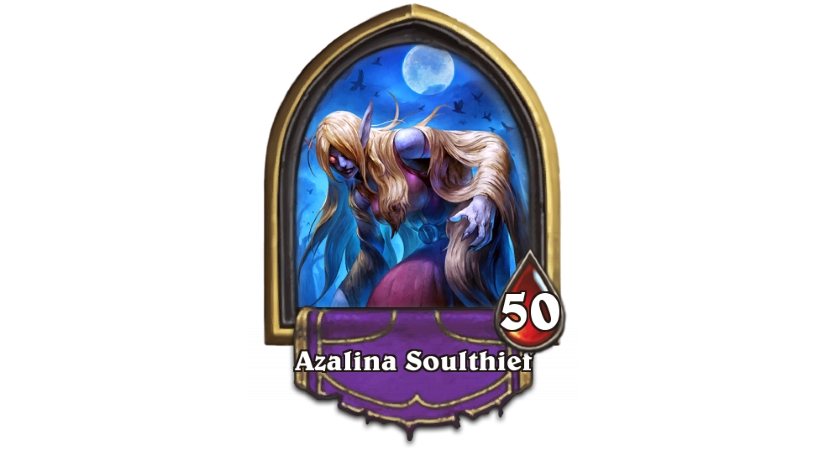
- Name: Azalina Soulthief
- Health: 50
- Hero Power: Unfinished Business (2 Mana) – Summon three 1/1 Wisps.
This boss is incredibly tricky and one that you’ll need to do a bit of prep for in order to survive. She’ll constantly aim to dominate the board with her Hero Power, before buffing her Wisps and hitting face. It’s a constant barrage of damage and you’ll need board clear or Taunt minions to nullify this.
We found it very difficult to gain any presence on the board in the early stage of the battle, so opted to lay down Taunts or employ Rush minions to clear her Wisps. It was more a case of damage control until we had enough Mana to drop a big Legendary, a clear like Flamestrike or a combination of minions that forced her to trade.
Baran the Blind

- Name: Baran the Blind
- Health: 30
- Hero Power: Bulldoze (1 Mana) – Spend all your armor. Deal that much damage to a random minion.
Throughout this fight, Baran’s going to armour up as much as possible. We’d recommend hitting face as much as possible to weaken his armour count, and Hero Power in turn.
Alternatively, you can flood the board and lay down a particularly large minion that you’re willing to sacrifice. He’ll likely use his Hero Power to deal with the one major threat, and hopefully you’ll still have at least a couple of minions standing. Try and buff, adapt or keep building you board so you can hit start hitting him where it hurts.
Big Spells like Pyroblast or Legendaries like Ragnaros the Firelord are also great ways of demolishing his minions or simply blasting face to reduce his armour!
Beastly Pete
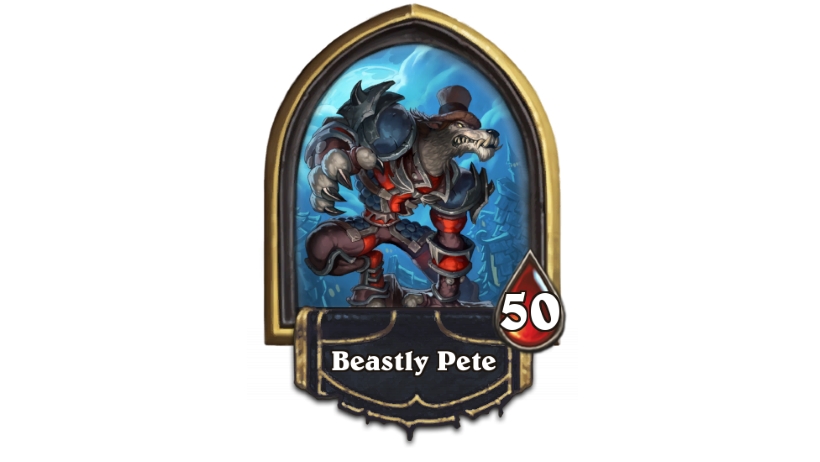
- Hero Power: Beast Within (1 Mana) – Give your minions +1 Attack.
- SPOILER: Encounter the boss Crooked Pete and he’ll turn into Beastly Pete after you reduce him to half health.
Beastly Pete’s the Worgen version of Crooked Pete, and a beast you certainly don’t want to underestimate. Whatever you do, don’t let his minions rest on his side of the board if you can help it. His Hero Power is built for buffing multiple minions, so it’s imperative that find ways to trade – Echo minions could certainly come in handy.
On a more positive note, if you’re facing Beastly Pete, his health will be at around 15 or so. With this in mind, Charge minions like Leeroy Jenkins are great for laying down some pressure.
Blood Witch Gretta

- Name: Blood Witch Gretta
- Health: 30
- Hero Power: Blood Red Apple (Passive) – Spells cost Health instead of Mana.
This is a very unique fight, as your Spells will cost Health instead of Mana. Instead of shying away from using Spells because of this, embrace the pain. If you draw any potent Spells in the early game, we’d recommend playing them to gain some serious board presence.
Discover Spells and burgle cards like Blink Fox are fantastic here and should be used as early as possible to strengthen your hand. Any cards that reduce the cost of your Spells are also brilliant as they’ll prevent you from taking too much damage while casting.
Brushwood Centurion
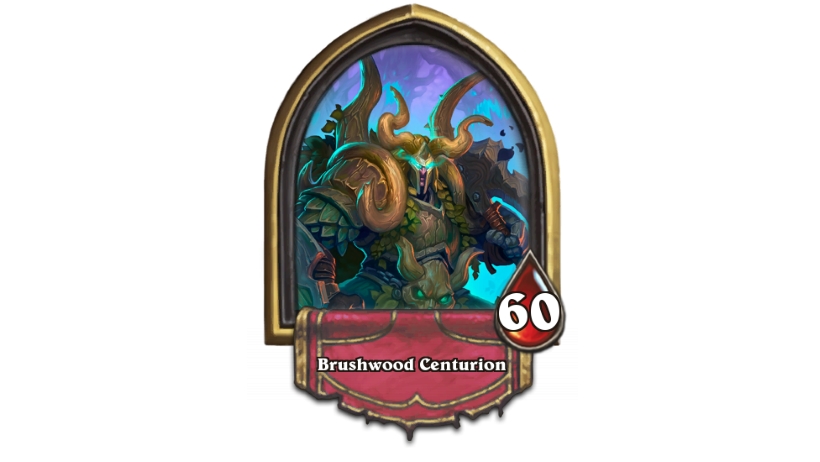
- Name: Brushwood Centurion
- Health: 60
- Hero Power: Survival of the Fittest (3 Mana) – All minions attack random enemy minions.
This boss aims to take advantage of small damage effects in order to get the most value out of his minions. The deck is full of cards such as Grim Patron, Gurubashi Berserker and Rotface, which all offer huge advantages if they take damage and survive. His hero power encourages this by forcing enemy minions to attack each other.
With this is mind, you’ll want to be careful when playing low attack minions. You’ll be relatively safe in the early game as the cost of his hero power will make it unplayable, but once you reach turn three it can be risky to have lower strength minions on the board. Try to keep his side clear with high damage or hard removal spells so the hero power becomes useless.
Captain Shivers*

- Name: Captain Shivers
- Health: 75
- Hero Power: Plunder (0 Mana) – Draw a weapon from your deck.
- Tracker’s Nemesis.
Head on over to our How to beat Captain Shivers guide for tips and tricks on how to beat this Nemesis boss!
Chupacabran
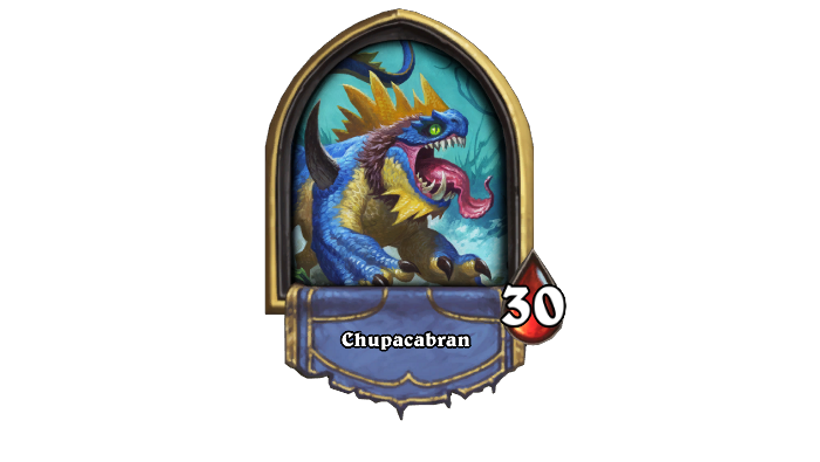
- Name: Chupacabran
- Health: 30
- Hero Power: Bloodthirst (1 Mana) – Give a friendly minion Lifesteal.
While Chupacabran’s Hero Power is frustrating, this fight’s all about keeping a healthy board and preventing theirs from ramping up. Control the board while bolstering your minions, and once you’ve got enough Mana – play a big card. Proceed to hit face. It’ll only be a matter of time before this boss goes down.
Craggtorr

Thanks to community member Aimer for the image!
- Name: Craggtorr
- Health: 60
- Hero Power: One with the Trees (2 Mana) – Reduce the cost of minions in your hand by (1).
- Potentially a rare boss. We encountered him on Challenge 7 as the Houndmaster class.
Craggtorr gets more dangerous the longer the game goes on, so the best advice is to try and rush him down as quickly as possible. His hero power will almost constantly reduce the cost of minions in his hand each turn, meaning you’ll be overwhelmed in the late game if you allow him to reach it.
Crooked Pete
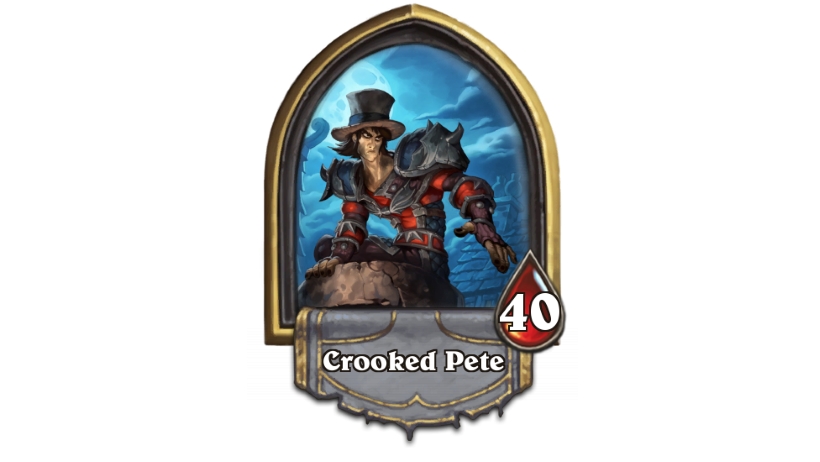
- Name: Crooked Pete
- Health: 40
- Hero Power: Soot Up (1 Mana) – Give a friendly minion Stealth until your next turn. This transforms into ‘Beast Within’ – Give your minions +1 Attack, when he’s reduced to half health.
This is a fairly straightforward fight at first, as his reliance on stealth minions means they’re not particularly strong in terms of stats. You can also completely destroy him if you’re playing as The Cannoneer as your hero power can ignore all of his stealth effects.
The one thing to keep in mind is that at half health he transforms into Beastly Pete, gaining additional health and a new, more aggressive, hero power. Ensure you have some extra resources saved for this second phase and more actively look to remove minions where you can so they don’t get buffed too much by Beast Within.
Cultist S’thara

- Name: Cultist S’thara
- Health: 40
- Hero Power: Poisoned Drink (Passive) – Whenever a player draws a card, deal 1 damage to them.
Due to S’thara’s Hero Power, you’re best off building board presence early on and employing any Lifesteal minions if possible. Lifesteal Taunt minions are perfect here as they’ll keep your Health count topped up nicely, while theirs will be dwindling with every turn.
Cutthroat Willie
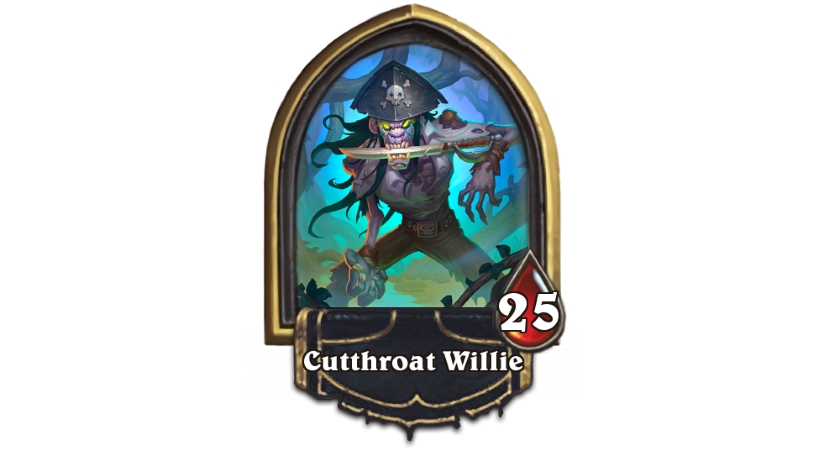
- Name: Cutthroat Willie
- Health: 25
- Hero Power: Shank (2 Mana) – Deal 1 damage to a minion. Draw a card.
Do your absolute utmost to trade efficiently in this fight. Remember any minion left on the board with 1 HP will be shanked, so take your time between turns to ensure that you’re nullfying his Hero Power.
Doctor Sezavo

- Name: Doctor Sezavo
- Health: 20
- Hero Power: Hollow Needle (2 Mana) – Deal 1 damage to a minion. If it dies, restore 3 Health to your hero.
Try and avoid leaving 1 health minions on the board in most cases. Instead, look to trade efficiently so you’re keeping 1 or 2 higher health minions on the board. Buffing one minion until it’s enormous also works a treat. Otherwise, keep going for face when you’ve got the opportunity!
Experiment 3C
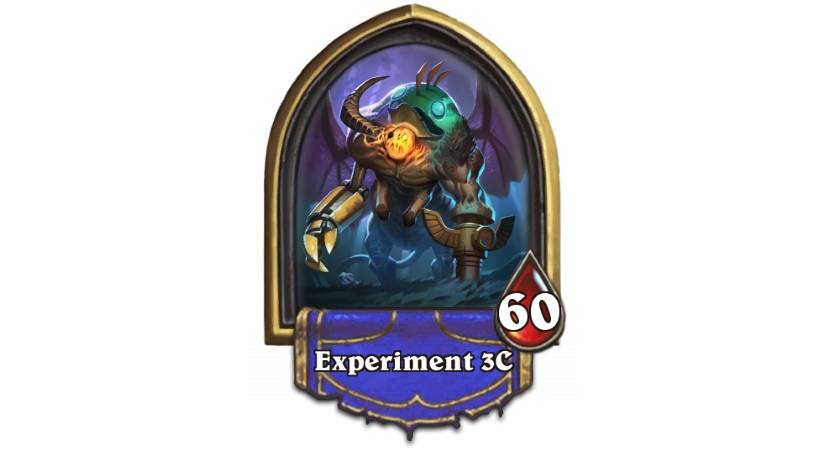
- Name: Experiment 3C
- Health: 60
- Hero Power: Consume – Destroy a friendly minion, then draw 3 cards.
Experiment 3C’s hero power may seem somewhat counter-intuitive at first, but the horrific amalgam has a huge deck of 60 cards and being able to draw through that quickly can leave you running out of answers.
The biggest card to fear in his deck, however, is Amalgamate. This eight mana card will destroy all minions on the board a summon a Amalgamation on its side with the combined health and attack of all those deceased creatures. This can be tough to play around, so either try to rush him down before you reach turn eight or be cautious how wide you go on the board to reduce the card’s effectiveness.
Face Collector

- Name: Face Collector
- Health: 60
- Hero Power: A New Face – Transform a minion into a random one that costs (2) more.
An incredibly tough fight indeed and one that we’ve lost countless times. So how do you actually defeat this horrible creature?
Unfortunately you’ll need to get lucky with the Treasures and Card Buckets you’ve picked up throughout the run. Anything that’ll allow you to play a strong early game to clear the board will be crucial here.
Aggro rush minions, cheap Spells and certain weapons can make the difference in this fight.
Forlorn Lovers
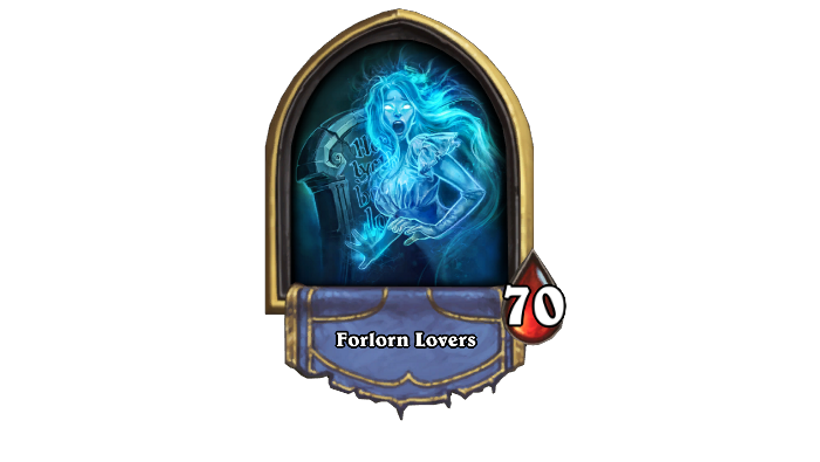
- Name: Forlorn Lovers
- Health: 70
- Hero Power: Together Forever (Passive) – Whenever a friendly minion dies, shuffle a copy into your deck.
This particularly tough fight aims to wipe you out with fatigue damage by forcing you to mill cards from your deck, while the hero power prevents you from doing the same to them. To combat this, you’ll want to play your cards as fast as possible to prevent yourself from overdrawing and losing precious resources.
Damage directly to the life total of Forlorn Lovers should be prioritised too, as trading minions is a fruitless exercise that will often just waste more time and leave you closer to death. The only time you might want to ignore this is if you can kill any Leyline Spiders from Fal’dorei Strider as it’ll fill their deck with less useful cards.
Garrow the Rancorous

- Name: Garrow the Rancorous
- Health: 40
- Hero Power: Death and Taxes (1 Mana) – Deal 1 damage to your opponent for each minion they control.
Garrow floods your board with small minions to take advantage of his Hero Power, so always trade them if you can to nullify this. Focus your efforts on getting one or two bigger minions on the board and use these to hit face. Small Rush minions are fantastic for controlling the board here!
Glinda Crowskin*
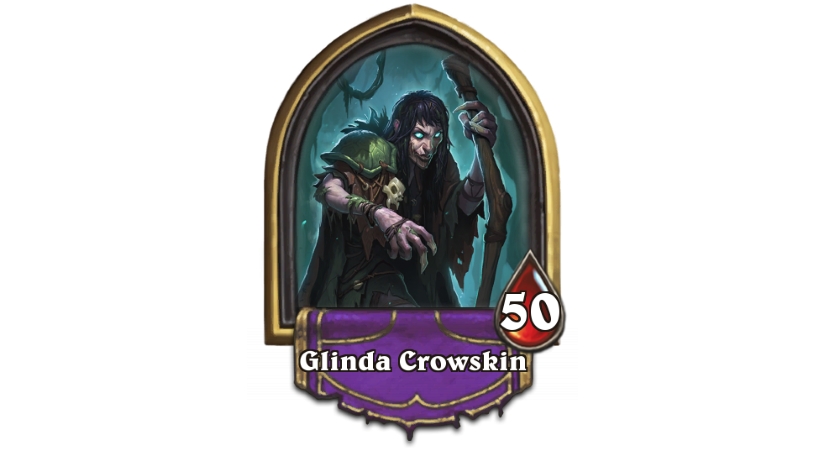
- Name: Glinda Crowskin
- Health: 50
- Hero Power: False Heart (Passive) – While you control a minion, your hero is Immune.
- Houndmaster‘s Nemesis.
Head on over to our How to beat Glinda Crowskin guide for tips and tricks on how to beat this Nemesis boss!
Gnarlroot

- Name: Gnarlroot
- Health: 30
- Hero Power: Splinter (1 Mana) – Take 2 damage. Summon a 2/2 Treant.
Defeating Gnarlroot’s all about shutting down his board control and forcing him to use his Hero Power in order to reclaim it. He’ll take a considerable amount of damage if you can wipe his board, or even play Taunt minions to soak up his Treant‘s attacks.
We found Taunt Minions that increase their attack value after taking damage particularly potent in this fight. Soak up damage, get buffed, go face.
Gnomenapper
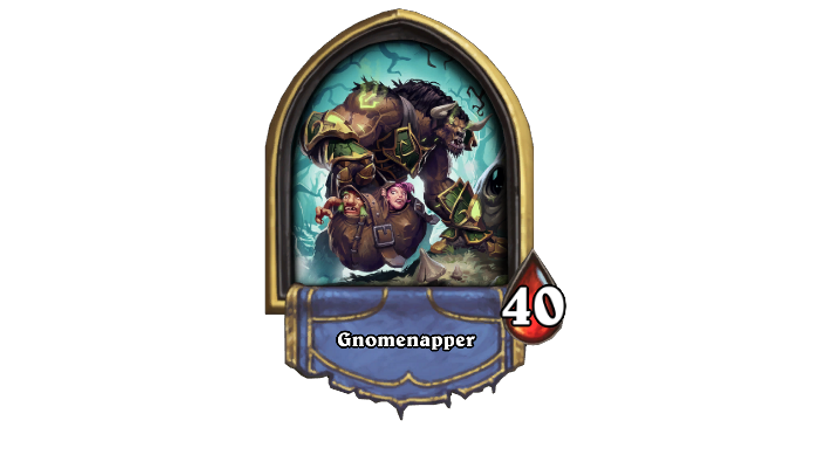
- Name: Gnomenapper
- Health: 40
- Hero Power: Nab (2 Mana) – Put an enemy minion into a sack.
Gnomenapper can be an irritating boss as he constantly wastes your turn forcing you to free minions from his hero power. Each sack only has three health, so it isn’t too difficult, but it can quickly eat up a lot of time.
Also, one of his potential turn four plays, Sack of Gnomes, will fill his side of the board with an assortment of Gnomes. This can sometimes straight up lose the game for you, so if you have strong board clears you might want to consider holding them in your opening mulligan.
Gobbles

- Name: Gobbles
- Health: 10
- Hero Power: Starving (Passive) – Whenever a friendly Beast dies, draw a card.
There’s not much to this fight. Just try and keep the board clear, hit face when you can and it won’t be long before this boss goes down.
Gravekeeper Damph
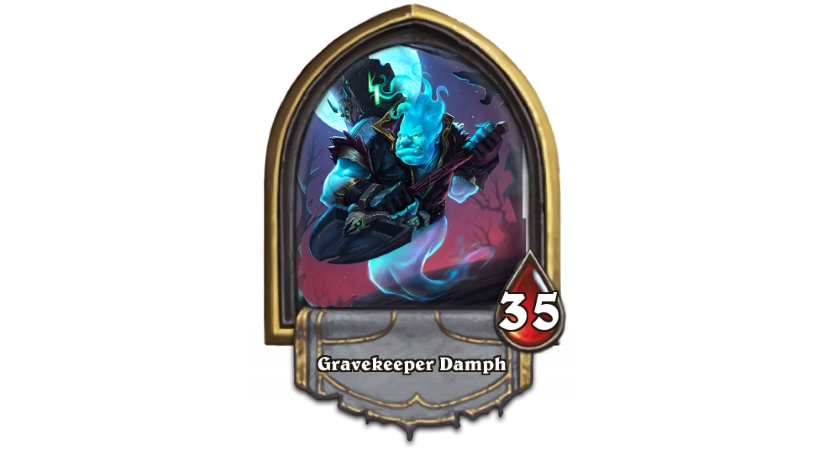
- Name: Gravekeeper Damph
- Health: 35
- Hero Power: Grave Mistake (3 Mana) – Trigger all minions’ Deathrattles twice.
Damph sure loves his Deathrattle minions. Fortunately, he also has a reasonably low health pool and just one taunt minion in his deck. With this is mind, you’re usually better off going straight for face damage where possible and only clearing away potentially dangerous minions such as Undertaker and Flesheating Ghoul. However, know that most of the time, these will be coming straight back.
Griselda

- Name: Griselda
- Health: 30
- Hero Power: Witch’s Kiss (2 Mana) – Transform a minion into a 1/1 Frog with Taunt.
When you play minions, grit your teeth and accept that one of them will be turned into a frog with Taunt. With this in mind, you’ll want to avoid playing any powerful minions on their own as they’ll be targeted by her Hero Power. Instead, play out a number of minions at once. This way she’ll have a harder time dealing with each threat. Plus, having frogs will allow you to begin building a strong board presence.
Again, don’t get too attached to any one minion. Avoid buffing one in the hopes that it’ll deal huge damage on a future turn as it’s likely to be transformed by Griselda. Whenever you’ve got the opportunity to hit face, take it!
Of course, any Spells or Deathrattle effects you can place on minions transformed by Griselda will also allow you to regain some value.
Groddo the Bogwarden

- Name: Groddo the Bogwarden
- Health: 30
- Hero Power: From the Swamp (Passive) – Whenever an enemy dies, raise a 1/3 Bloated Zombie.
A tough fight as the Bloated Zombies he spawns with each of your minion deaths are a real pain to deal with throughout the match. You’ll want to avoid small minions as much as possible, especially anything like Houndmaster’s hero power, as you’ll just be outvalued. Survive long enough to drop your larger minions, though, and the annoying zombies won’t even come into it.
Grubb the Swampdrinker

- Name: Grub the Swampdrinker
- Health: 30
- Hero Power: Chuck (1 Mana) – Destroy a friendly minion and deal its Attack to the enemy hero.
A big Ettin means even bigger minions. Fortunately, their increased strength is balanced out by a lack of intelligence, so there’s usually a 50% chance his creatures will attack the wrong target. The hero power becomes the real danger, then, so look to clear his high attack minions when you can to prevent that huge damage heading straight for your life total.
Grum
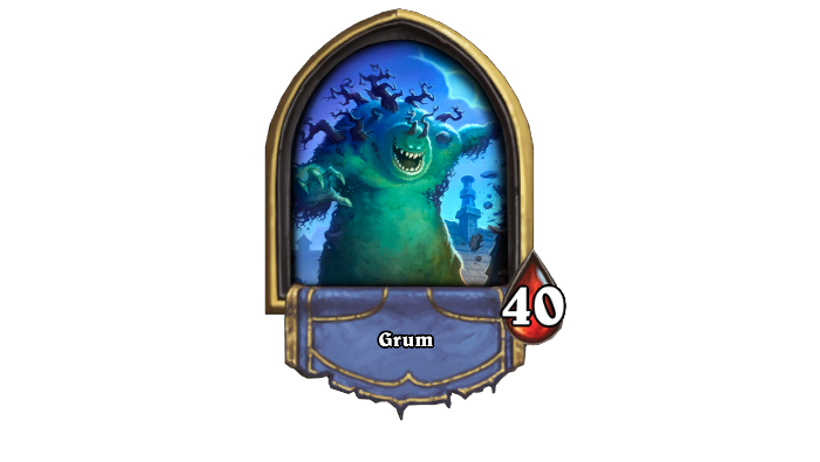
- Name: Grum
- Health: 40
- Hero Power: Terrify (3 Mana) – Shuffle a minion into its owner’s deck. It costs (4) less.
Looking like a more terrifying Sully from Monsters Inc., Grum loves to send your minions feeling back into your deck, though he has to spend four mana in order to do so. This means you can usually build up a bit of an advantage in the early game, so that by the time your creatures are running scared, you’re already well in the lead.
Gustave the Gutripper

- Name: Gustave the Gutripper
- Health: 50
- Hero Power: Cull the Meek (1 Mana) – Destroy a minion with the lowest Attack.
Avoid playing minions turn one as he’ll trigger this Hero Power every turn without fail. Instead, play a couple of minions at a time, with at least one that you’re happy to sacrifice. Or, take into account the minions he’s got on the board too. If a turn’s ended and he’s got a minion on the board with a lower attack value than yours, he’ll end up destroying it too.
With this in mind, play your cards in such a way that you’ll always sacrifice a small minion in the hopes that your big ones will survive.
*Hagatha the Witch*
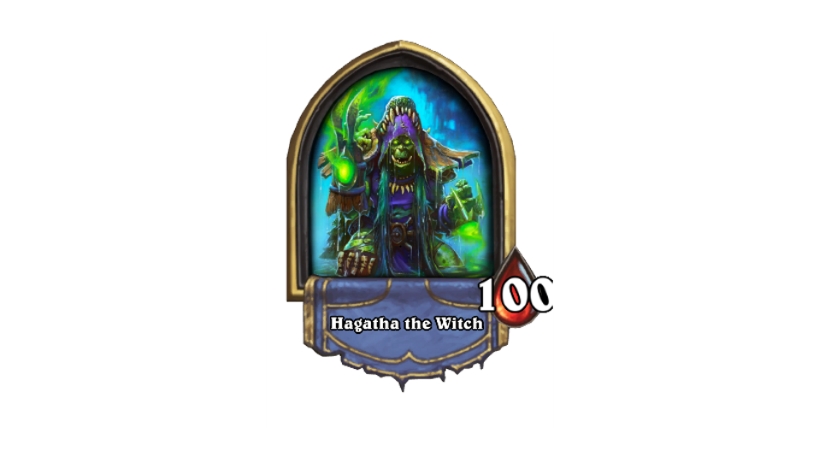
- Name: Hagatha the Witch
- Health: 100
- Hero Power: Bewitch (Passive) – After you play a minion, add a random Shaman spell to your hand.
- Unlocked by completing Monster Hunt mode with all four Monster Hunters.
- Will take all four Monster Hunters to defeat her in a special final boss fight!
We’ve put together a dedicated How to beat Hagatha the Witch guide, so make sure you give it a read as it’ll outline how to take care of the final boss!
Infinite Toki*

- Name: Infinite Toki
- Health: 60
- Hero Power: Chronoacceleration (2 Mana) – Give a friendly minion Mega-Windfury. At the end of your turn, it dies.
We’ve got a dedicated page to defeating this Nemesis Boss on the way soon, stay tuned!
Inquisitor Hav’nixx
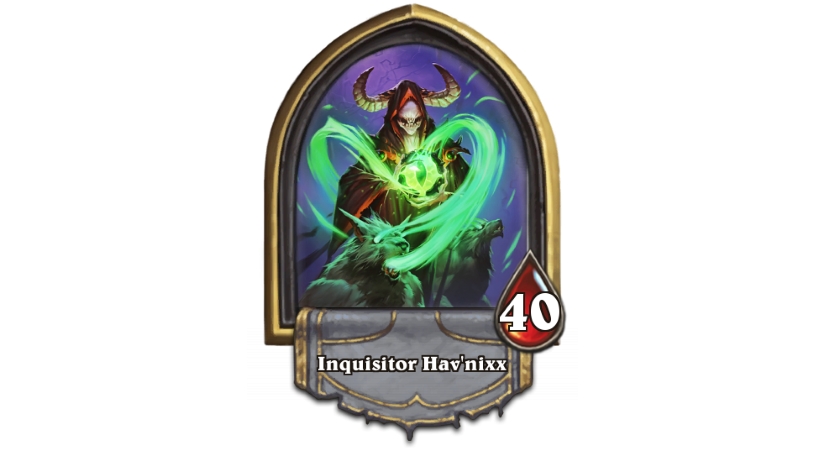
- Name: Inquisitor Hav’nixx
- Health: 40
- Hero Power: Devour Soul (4 Mana) – Halve the enemy hero’s Health.
Inquisitor Hav’nixx puts you on a clock with the potential of his hero power and number of Mind Blasts in his deck. Unless the A.I. plays moronically in your favour, which can definitely happen, ten health is pretty much the point where the game is over for you. In that case you’ll want to race him down as fast as you can and favour face damage over minion trading.
Lord Godfrey*

- Name: Lord Godfrey
- Health: 70
- Hero Power: Pistol Barrage (1 Mana) – Deal 2 damage to a minion and the minions next to it.
- Cannoneer’s Nemesis.
Head on over to our How to beat Lord Godfrey guide for tips and tricks on how to beat this Nemesis boss!
Manhunter Ivan
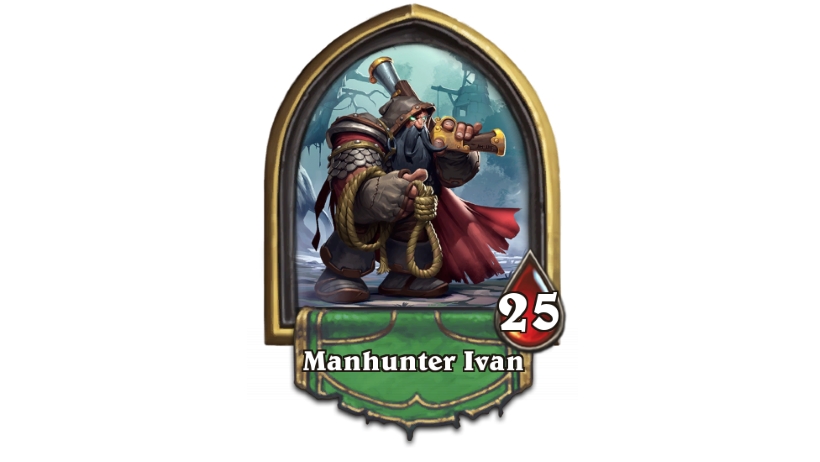
- Name: Manhunter Ivan
- Health: 25
- Hero Power: Trap Preparation (2 Mana) – Put a random Secret from your deck into the battlefield.
This guy’s a nightmare and one that requires a little bit of luck on your side to survive. He’s Secret crazy, so it’s a case of saving some low cost minions in your hand and playing them out at the start of each turn to trigger some of them. Test interactions with your low cost cards too, perhaps hitting face first or trading into an enemy. This way you’ll save your high cost cards and hopefully have an opening to deal some serious damage.
Niira the Trickster

- Name: Niira the Trickster
- Health: 25
- Hero Power: Unstable Growth (1 Mana) – Give all minions +1/+1.
So long as you maintain board control, Niira’s not too tricky. Don’t let her gain any board presence and you’ll win this fight.
Plaguemaster Rancel
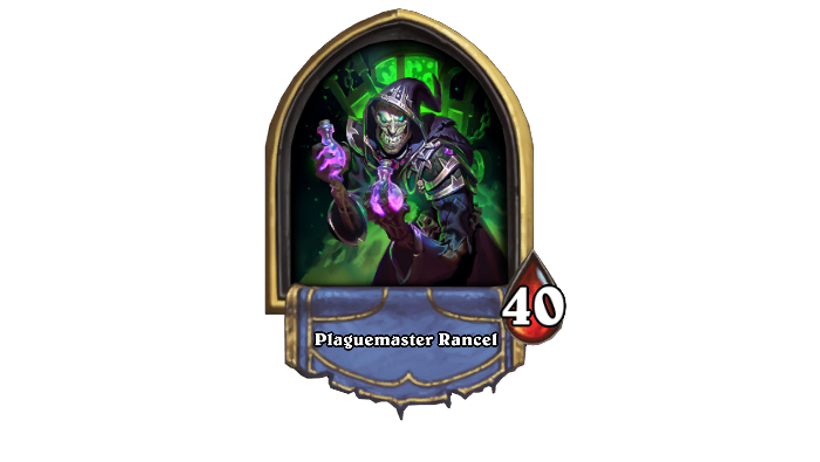
- Name: Plaguemaster Rancel
- Health: 40
- Hero Power: Poison Flask (2 Mana) – Deal 2 damage to a minion. If it survives, give it Poisonous.
This fight’s a fairly standard affair, but just be aware of his Hero Power. With this in mind, you’ll want to ensure his board is kept clear, or at least trade into his minions in such a way that he can’t utilise Poisonous.
Rush, Echo and Charge minions are great for clearing any Poisonous cards off the board in this fight.
Raeth Ghostsong

- Name: Raeth Ghostsong
- Health: 60
- Hero Power: Desecrate (1 Mana) – Deal 1 damage to all minions. If any die, refresh this.
It turns out that having Defile on tap can be pretty powerful. The best way we’ve found to deal with Raeth Ghostsong is to use his deck against him, forcing him to mill himself with Cult Master and Acolyte of Pain.
The multiple ways he can bring minions back to life means the board control game is usually out of the question – especially if the game goes on until turn nine and he can start using Shallow Graves, which resurrects seven minions that died during the game on his side.
Ratcatcher Hannigul
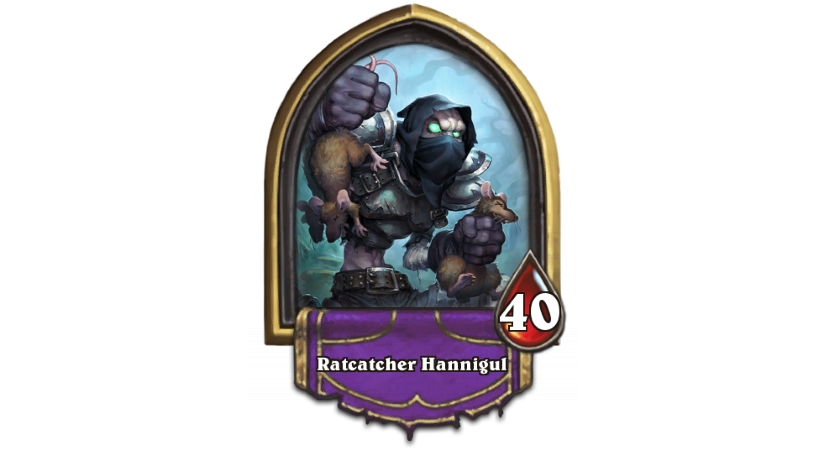
- Name: Ratcatcher Hannigul
- Health: 40
- Hero Power: Cannibalism (Passive) – Whenever a minion dies, give the adjacent minions +1 Attack.
Ratcatcher Hannigul’s hero power does have the potential to be threatening considering the number of small minions he plays with Deathrattle effects. However, the good news is that many of them have very low health too, so keeping the board clear shouldn’t be too difficult. That’ll negate the majority of his strength.
Ravencaller Cozzlewurt

- Name: Ravencaller Cozzlewurt
- Health: 15
- Hero Power: Call of the Raven (1 Mana) – Add a random 1-Cost minion to your hand.
A fairly useless opponent who you should be able to rush down quick enough with such a low health total. The only danger card is Hobgoblin if you leave it alive for more than a turn.
Rottooth
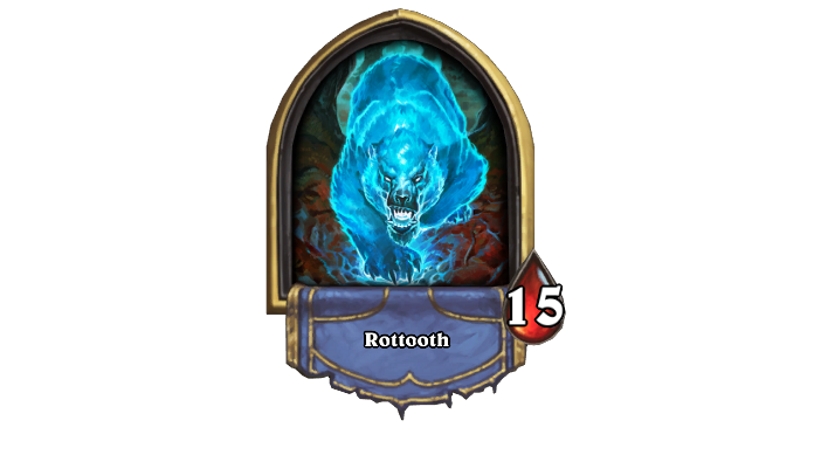
- Name: Rottooth
- Health: 10
- Hero Power: Fading Bite (2 Mana) – Gain +2 attack this turn.
Be a bit wary of Rottooth’s Hero Power, and hit face over trading.
Sazzmi Gentlehorn

- Name: Sazzmi Gentlehorn
- Health: 25
- Hero Power: Infatuation (1 Mana) – Gain control of enemy minions with 1 or less attack.
Sazzmi is able to steal pretty much any minion you play on the board by combining cards in her deck with her hero power. This means you’ll want to be extremely cautious with the creatures you play while she still has a hand full of resources. You’ll want to try to bait out her attack reduction effects on lesser minions and drop your late game creatures when they’re safe from being stolen.
Sephira Dusktalon
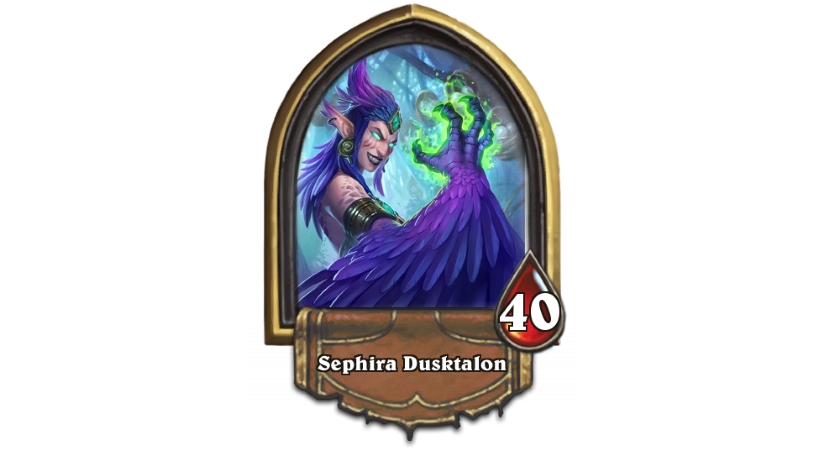
- Name: Sephira Dusktalon
- Health: 40
- Hero Power: Tangled Wrath (Passive) – Whenever your opponent casts a spell, draw a spell from your deck.
We found playing the long game worked well against Sephira. Don’t get too bogged down in avoiding her Hero Power. Using your Spells forces her to draw cards, which can cause her to burn them if her hand’s too full.
Shudderwock

- Name: Shudderwock
- Health: 50
- Hero Power: Frumiousity (Passive) – All Battlecries trigger twice.
The ridiculous card in Standard is even sillier in Monster Hunt as his hero power passively makes all Battlecries trigger twice – that’s both his and yours. It’s something that can end up working in your favour more often than not.
Shudderwock plays a lot of hand buff cards, so he’s usually slow to get started, giving you time to push ahead in the early game and defeat him before his big threats arrive.
Splintergraft
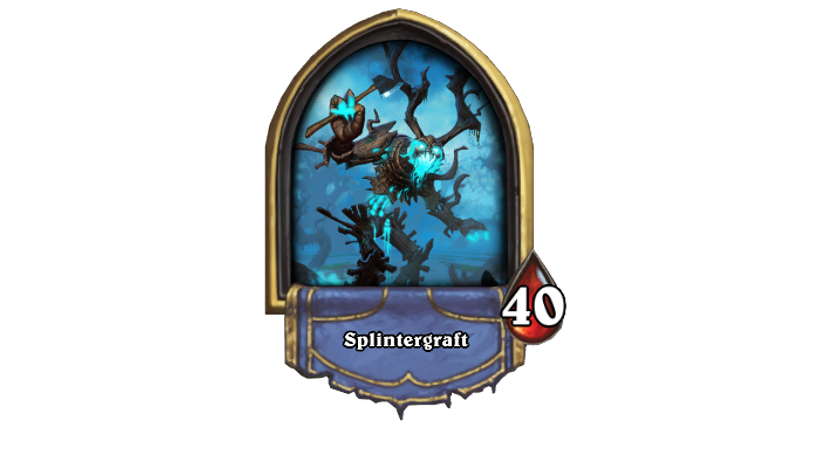
- Name: Splintergraft
- Health: 40
- Hero Power: Grafted Bark (2 Mana) – Choose a minion. Add a 2/2 copy to your hand that costs 2.
Splintergraft doesn’t really offer much of a threat and instead just draws a game out more often than you might like with its hero power. It’ll make 2/2 copies of many of its taunts and heal effects to soak up face damage, while the A.I. will do you many favours wasting potentially huge cards such as Forbidden Ancient by playing them far too early. Just keep clearing minions and eventually you’ll break through.
The Mute

- Name: The Mute
- Health: 25
- Hero Power: (1 Mana) Silence a minion.
Do your best to keep board control and focus on getting that early game board advantage. If you’ve got any Taunts, Lifesteals and the like, it’s worth dropping them together so she can only silence one.
We found it best to ignore minion abilities like Taunt, and focus on base stats instead.
The Scarecrow
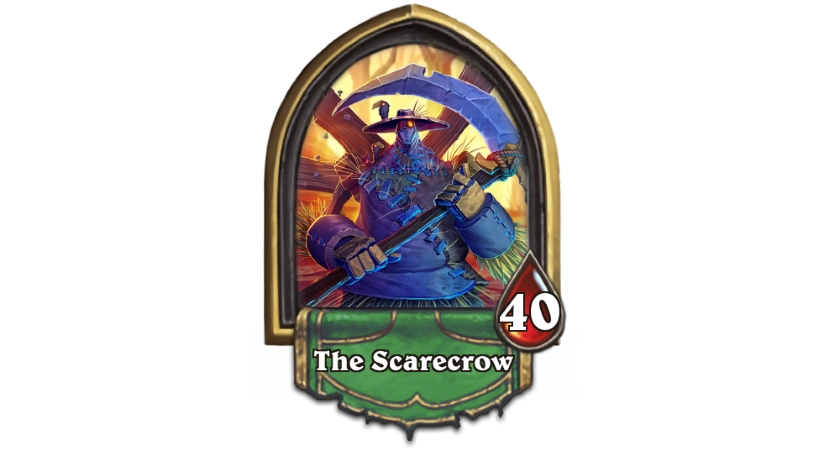
- Name: The Scarecrow
- Health: 40
- Hero Power: Harvest (1 Mana) – Destroy a friendly minion. Restore 8 Health to your hero.
Do your best to survive until the late game and take into account The Scarecrow’s Hero Power. It has to destroy a friendly minion if it wants to recover health – so force it to destroy something that’s high cost by eliminating all his low cost minions.
The Whisperer

- Name: The Whisperer
- Health: 25
- Hero Power: Echoes of the Witchwood (Passive) – All spells have Echo.
Similar to Shudderwock, the fact that The Whisperer’s hero power affects both side’s spells is good news for you. In the right circumstances you can even set up some silly one turn kill plays if you reduce the cost of certain spells to zero mana. In most cases, though, you’ll win this game like any other standard match.
Vitus the Exiled
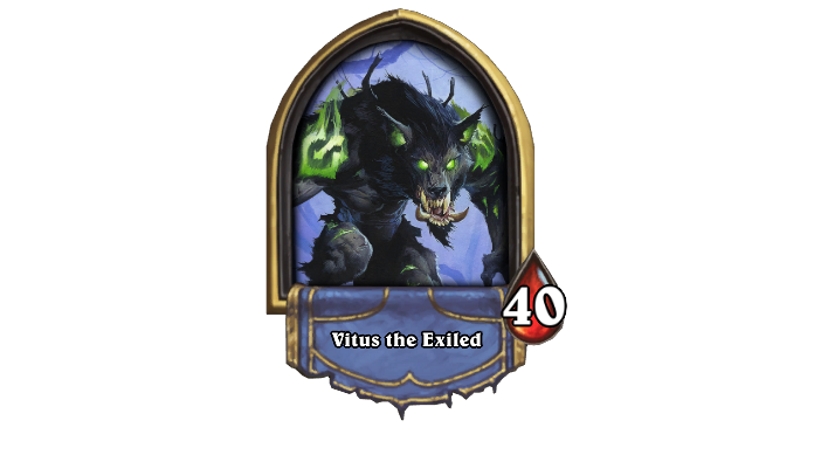
- Name: Vitus the Exiled
- Health: 50
- Hero Power: Monstrous Aura (Passive) – Your minions have +1/+1.
Board clear is absolutely key here. Things can get out of hand very quickly with Monstrous Aura and the number of small minion generation effects packed into Vitus’ deck. Watch out for cards such as Imp Master and Wisps of the Old Gods.
If you’re feeling overwhelmed against a large board, aim to eliminate as many of the smaller minions as possible to reduce the bonus from his hero power and cards such as Savage Roar.
Wharrgarbl

- Name: Wharrgarbl
- Health: 30
- Hero Power: It’s Raining Fin (2 Mana) – Draw 3 Murlocs from your deck.
So. Many. Murlocs. As we’ve seen through the years in Standard, there’s potential for some explosive synergy between multiple Murloc cards, so you’ll want to focus on board clears to keep the finny fellows in check and prevent cards such as Everyfin is Awesome from destroying you. Do that and Wharrgarbl’s strength will be dwindled.
Winslow Tobtock
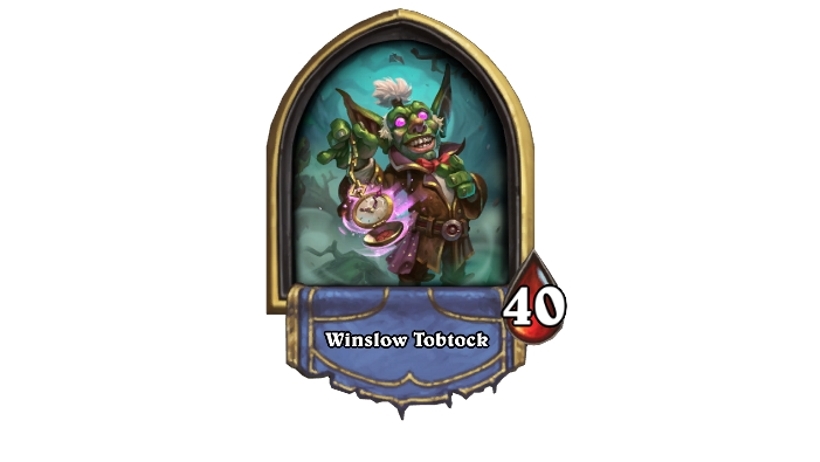
- Name: Winslow Tobtock
- Health: 30
- Hero Power: Hypnotize (2 Mana) – Each player shuffles their hand into their deck and draws that many cards.
Winslow’s potentially a very tricky customer as you desperately don’t want him to drop Curio Collector or Daring Reporter and press his Hero Power in the same turn. We’ve found success by establishing early board presence and building some solid foundations so he really can’t get going.
The ability to copy cards is also a great way to prepare for this fight, as you’ll be able to grab a copy of the cards mentioned above if he does go ahead and use them!
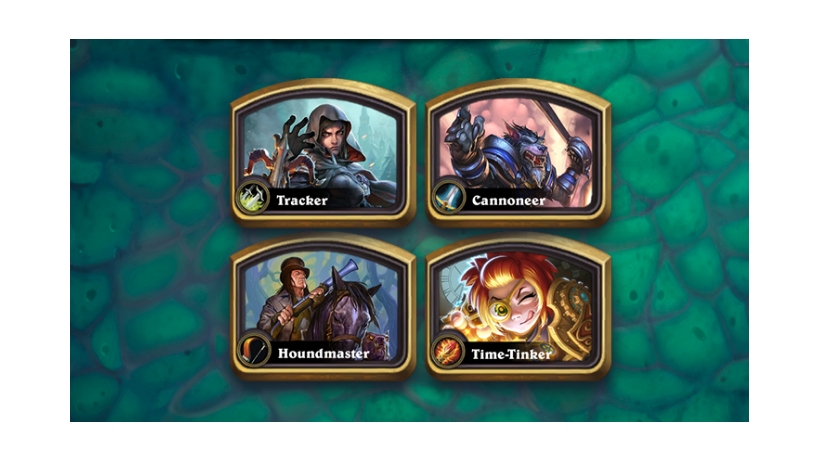
Monster Hunt: Tracker, Cannoneer, Houndmaster, Time-Tinker
Here’s a list of all the new heroes in Monster Hunt, along with their equivalent archetype in the core game. Each one of them has a unique hero power, as well as a unique pool of cards to choose from as you progress in the hunt.
Simply click on one of these links and it’ll take you to a separate tips page we’ve created for each one.
- Tracker (Rogue) Hero Power: Scavenge – 2 Mana – Discover a class spell that has been played this game – Tracker guide – Best cards, upgrades and equipment
- Cannoneer (Warrior) Hero Power: Fire! – 2 Mana – Fire your Cannons! If they kill any minions, refresh this – Cannoneer guide – Best cards, upgrades and equipment
- Houndmaster (Hunter) Hero Power: Dog Whistle – 2 Mana – Summon a 1/1 Bloodhound with Rush – Houndmaster guide – Best cards, upgrades and equipment
- Time-Tinker (Mage) Hero Power: Temporal Loop – 2 Mana – Start your turn over – Time-Tinker guide – Best cards, upgrades and equipment
Monster Hunt: Treasures
As with Dungeon Run you’ll be able to add some tasty new equipment and cards to your loadout as you progress through an individual Monster Hunt run. Here’s what we know so far about gearing up in the new mode:
Overview
- Whenever you finish an encounter you’ll be able to choose new loot to improve your Monster Hunt deck.
- You’ll be able to choose between three sets of three cards, each one of which belongs to a thematic “bucket” of cards.
- At certain moments in your Monster Hunt, you’ll also be able to add extra special cards that either boost your hero power, or synergise with your hero in another way.
- Every Monster Hunter has one or more unique, exclusive treasures that will bolster their deck in some way.
- If you’re on a Monster Hunt, sometimes you’ll encounter a rare boss. Defeat these rare bosses and you’ll be granted a special treasure.
Card Buckets
Every time you defeat a boss in Monster Hunt, you’ll be able to choose from three different sets of cards that are all thematically tied in some way. As you progress, you’ll gradually build a deck that might be focused on Spells, board clears, Murlocs, Dragons or more.
Crafting a strong deck with cards that complement eachother is vital to success in Monster Hunt. Below we’ve listed the sequence at which you’ll earn Card Buckets and Treasures during a run.
- Defeat Boss 1 – Card Bucket + Passive Treasure
- Defeat Boss 2 – Card Bucket
- Defeat Boss 3 – Card Bucket + Card Treasure
- Defeat Boss 4 – Card Bucket
- Defeat Boss 5 – Card Bucket + Passive Treasure
- Defeat Boss 6 – Card Bucket
- Defeat Boss 7 – Card Bucket + Card Treasure
All Passive Treasures
Passive Treasures activate at the very beginning of a match and last throughout each game you play. They’re game-changing, so make sure you choose wisely!
All Classes
- Caltrops: After your opponent plays a minion, deal 1 damage to it.
- Crystal Gem: Start with an extra mana crystal.
- Entrenchment: Your minions have +2 Health.
- Expedite: Your minions cost (1) less.
- First Aid Kit: At the end of your turn restore 2 Health to all friendly characters.
- Glyph of Warding: Enemy minions cost 1 more.
- Khadgar’s Scrying Orb: Your Spells cost 1 less.
- Pillage of the Fallen: Whenever your weapon is destroyed, equip a random weapon.
- Potion of Vitality: Double your starting health.
- Scepter of Summoning: Your minions that cost 5 or more, cost 5.
- Small Backpacks: At the start of the game, draw 2 cards.
Cannoneer Passives
- Dragonfire Ammo: Your Cannons do 1 extra damage.
- Tactical Reinforcements: Whenever you fire your Cannons, reduce the cost of a card in your hand by (2).
- Victorious Rally: When you fire your Cannons, give your minions +1 Attack this turn.
Houndmaster Passives
- Companionship: Your Bloodhounds have +2 Attack.
- Lunar Signet: After you play a minion trigger its Deathrattle effect.
Time-Tinker Passives
- Double Time: Passive After you cast your first spell in a turn, cast a copy of it (targets chosen randomly).
- Rewind: When your hero dies, restart the game and remove this from your Dungeon Deck.
- Robe of the Magi: Passive – Spell Damage +3
Tracker Passives
- Cult of the Wolf: You can use your Hero Power twice each turn. It costs (1) less.
- Sticky Fingers: Cards that didn’t start in your deck cost (1) less.
All Card Treasures
These Treasures come in the form of super-powerful cards that require Mana to be played. Use one at the right time and it could totally swing the match in your favour. Make sure you choose those that best complement the theme of the Deck you’re building, as this’ll net you the most value.
- Angry Mob: 2 Mana, Destroy 2 random enemy minions. Upgrade this and shuffle it into your deck.
- Bandage: 2 Mana, Restore all friendly minions to full health. They can attack again this turn.
- Bestiary: 8 Mana Spell, Fill your board with copies of random minions from your opponent’s deck.
- Beastly Beauty: 2 Mana, 2/5, Rush – After this attacks a minion and survives, transform this into an 8/8.
- Blood Moon: 2 Mana, Give your minions +1/+1 and Lifesteal.
- Brass Lantern: 1 Mana, Discover a copy of a card in your deck. Repeat this 2 more times.
- Butch: 4 Mana, 1/1, Has +1/+1 for each friendly Beast that died this game.
- Cartographer: 2 Mana, 1/5, Battlecry – Discover a Treasure.
- Chaos Theory: 2 Mana, Both players cast all spells in their hand (targets chosen randomly).
- Coin Pouch: 2 Mana, Summon a random 3-Cost minion. Upgrade this and shuffle it into your deck.
- Creepy Curio: 1 Mana, Summon three 1/1 Ghosts. Upgrade this and shuffle it into your deck.
- Gattling Gunner: 4 mana, 5/3, Whenever you play a card, deal damage equal to its cost to a random minion.
- Gentlemen’s Top Hat: Give a minion +2/+2 and Deathrattle – Give your Top Hat to another friendly minion.
- Grave Mistake: 0 Mana – Trigger all minions’ Deathrattles twice.
- Hallowed Water: 7 mana, Restore your hero to full health. Draw 5 cards.
- Holy Book: 6 Mana, Silence and destroy a minion. Summon a 10/10 copy of it.
- Nalaa the Redeemer: 6 Mana, 9/9, Divine Shield + Taunt – After this minion survives damage, gain Divine Shield.
- Old Militia Horn: Give your minions +1/+1 and Taunt. Upgrade this and shuffle it into your deck.
- Plague of Murlocs: 3 Mana, Give your minions Deathrattle – Summon a random Murloc.
- Pristine Compass: 3 Mana, Draw a card and add 2 extra copies of it to your hand. They cost (0).
- Sack of Coins: 2 Mana, Summon a random 6-Cost minion. Upgrade this and shuffle it into your deck.
- Sack of Gnomes: 4 Mana, Fill your board with random Gnomes.
- Safe Harbor: 2 Mana, Choose a minion and put it into your hand. It costs (0).
- Shallow Graves: 9 Mana, Summon 7 random minions that died this game.
- Surly Mob: Destroy a random enemy minion. Upgrade this and shuffle it into your deck.
Cannoneer Card Treasures
- Grizzled Reinforcement: 3 Mana, 4/3, Battlecry – Summon an extra Cannon.
- Seabreaker: 10 Mana, 15/15 Pirate – Costs (1) less for each time you’ve fired your Cannons.
- Tuskarr Raider: 4 Mana, 3/9 Pirate, Rush – After this minion attacks, fire your Cannons.
Houndmaster Card Treasures
- Bubba: 7 Mana, 9/9 Beast, Battlecry – Summon six 1/1 Bloodhouds to attack an enemy minion.
- Gilnean Tracker: 3 Mana, 3/3 with Rush. At the start of your turn transform this into a 5/5.
- Princess: 5 Mana, 5/5 Beast, Battlecry – Gain the Deathrattles of 3 random minions in your deck.
- Royal Gift: 4 Mana, Give a minion +2/+2 for each minion you control.
- Shaw’s Shank: 1/5 Weapon, Has +1 attack for each friendly minion you control.
- Sic’Em: 6 Mana, Summon three minions from your deck with the highest attack.
Time-Tinker Card Treasures
- Chaos Theory: 2 Mana, Both players cast all spells in their hand (chosen randomly).
- Clockwork Assistant: 1 Mana, 1/1, Has +1/+1 for each Spell you’ve cast this game.
- Enhance-a-matic: 1 Mana, Add a random spell from each class to your hand.
- Impetuous Companion: 3 Mana, 5/5, Battlecry – Swap hands with your opponent.
- Puzzle Box: 1 Mana, Transform all minions into ones that cost (3) more.
- Stroke of Midnight: 2 Mana, Echo – Destroy a random enemy minion.
Tracker Card Treasures
- Exterminate: 3 Mana, Echo – Deal 10 damage to a minion and any excess to the enemy hero.
- Frenzied Trapper: 5 mana, 5/5, Battlecry – Put 5 random Secrets into the battlefield.
- Hunter’s Insight: 3 Mana, Reduce the cost of all cards in your hand by (3).
- Hunter of Old: 3 Mana, 3/6, Whenever you cast a spell, gain Spell Damage +2.
- The Exorcisor: 3 Mana, 4/4 Weapon, Silence any minion attacked by this weapon.
- Tools of the Trade (Tracker): 2 Mana, Discover one of Tess’s weapons and equip it. Return this to your hand.
Rare Boss Treasures
If you manage to take down a rare boss, you’ll be rewarded with their incredibly powerful Hero Power as a Treasure. We’re still in the process of compiling this list, so bear with us!
- Chuck: Defeat Grubb the Swampdrinker and you’ll earn an upgraded version of his Hero Power, “Chuck” for the rest of your run. It’s a 6 Mana Spell that tosses all minions in your hand directly at your opponent’s face.
- Enchanting Tune: Defeat Sazzmi Gentlehorn and you’ll earn the chance to pick a 4 Mana Spell that gains control of all enemy minions and sets their attack and health to 1.
Monster Hunt: Rewards
We know that there’s a card back reward associated with Monster Hunt, but the exact criteria for unlocking it hasn’t been revealed by Blizzard yet. It seems reasonable to assume though that – like Dungeon Run – it’ll be earned by beating the mode using all four of the unique heroes.
Here’s what it looks like:

There are also new Monster Hunt Quests that task you with eliminating 10 bosses with each class. In return, you’ll earn a Witchwood Card Pack for efforts. This means you can earn a grand total of four Witchwood Card Packs!
Monster Hunt FAQ
- Release date: Monster Hunt was released two weeks after The Witchwood on 26th April 2018.
- Heroes: There will be a total of four heroes in Monster Hunt that are completely unique to the mode: the Tracker, Cannoneer, Houndmaster and Time-Tinker
- Monsters: In each Monster Hunt you’ll have to face off against eight different monsters. Like Dungeon Run, your selection of Monsters will be drawn from a much bigger pool of possible encounters.
- Bosses: Having emerged victorious from these encounters, you’ll then have to do battle with a final boss. Again this is very much like Dungeon Run, where one of four particularly bothersome beasts await you at the end of each run.
- Cards: You’ll once again have to build a deck of cards as you go, selecting one of three card “buckets” as you beat each encounter.
- Equipment: As well as these cards, you’ll also occasionally earn the right to choose a powerful artifact that should make a big difference to your performance.
That’s the end of the third edition of our Monster Hunter guide, but we’ll continue to update this guide as we get some more hands on time with it – stay tuned!
