
Destiny 2: 1AU walkthrough guide – How to get the grinder started and defeat the Centurion
Our essential walkthrough for Destiny 2's 1AU mission.
Our Destiny 2: 1AU walkthrough contains tips and tricks for getting the grinder started and defeating the Centurion, as well as a complete walkthrough for the entire mission.
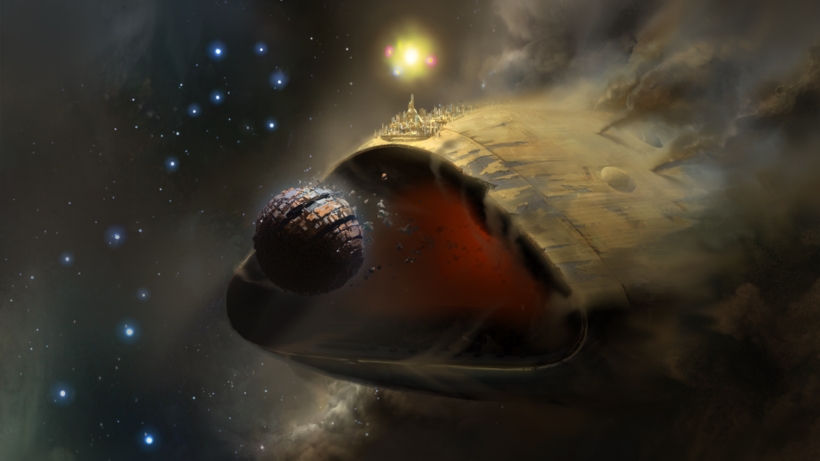
You’re disembarking onto the surface of the Almighty and you’re here to shutdown its cooling systems so you can scupper the Red Legions evil plans for good. It’s no mean feat though as you’ll have to fend off waves of vicious Cabal enemies and avoid getting burnt to a crisp in the process.
This is the first iteration of our 1AU guide and we’ll continue updating it thoroughly in the near future. We’ll add screenshots, gameplay footage and even more strategy advice very soon. Stay tuned for more!
(If you want to be the best at every area of the game, don’t forget to bookmark our PVP, Strike and Subclass guide pages – they’ve got everything you need if you want to get more out of Destiny 2, and will be continuously updated in the weeks ahead.)
Editor’s UPDATE #2: Just below the main walkthrough we’ve added a complete video version for you too. This’ll help you out even further and give some visual guidance if you’re ever stuck on how to defeat some enemies or simply can’t find the way to the next objective. We’ll continue updating this article over time so stay tuned for more!
Get the grinder started and hold out
Fall down onto the platform below and take out the few Legionaries ahead using the crates as cover. Proceed down the ramp, headshotting the Psions and Legionaries on your left behind cover. Shoot the yellow explosive canisters to soften up the enemies hiding near them.
Deploy your Ghost to access the bridge controls and ready yourself for three Cabal dropships to throw enemies your way. They’ll land on the bridge and the main entrance on the opposite side. We recommend sticking by the console, using ranged weaponry to eliminate all the enemy forces that come your way.
Keep moving over the bridge and chuck a grenade to wipe out the Phalanxes and any other enemies that remain. Another explosive barrel is located nearby, so use this to your advantage.
Once this is done, head through the corridors into the large chamber. You’ll see a series of round doors over to your left and a Cabal grinder skirting the right side of the chamber. Proceed to the control room on the opposite side, taking out any enemies as you go. If you encounter any exploding barrels, save them for the greater battle yet to come.
Persue the grinder control area for some fusion cores and haul them over to the console with the rounded door. Insert the core and the grinder will start eating away at the rock wall that’s stopping you from progressing. While it’s chipping away at the environments, a wave of enemies are inbound.
Stick to the control room and engage these enemies at long range, pot-shotting their heads as they trundle towards you. Two Gladiators will make an appearance, so prioritise them as soon as they show up. Don’t be afraid to chuck a grenade into the mix when things become a little overwhelming. You can even retreat into the large rocky area and fight the Cabal there for increased survivability.
After you’ve defeated the first wave of enemies, a mini-boss Centurion will appear. Whip out an energy weapon and destroy his shield before he even has a chance to breathe. With this done, hit him with your favourite weapon of choice and aim for the head. Rinse and repeat this strategy and he won’t stand a chance.
Our most popular Destiny 2 guides:
The following links will take you to our most important guide hubs:
- 1. Guide – Destiny 2 Guide
- 2. Crucible – Destiny 2 Crucible PVP guide
- 3. Subclasses – Destiny 2 Subclass guide
- 4. Strikes – Destiny 2 Strike guides
- 5. Campaign – Destiny 2 Campaign walkthrough

Rush into shade
Now that he’s out of the way, the grinder will have completed its job. Enter the dark chamber, turn right and enter the door slightly above you. Drop the enemies that appear here, then proceed into the cargo corridor.
Don’t venture too far into this corridor yet as there’s a Gladiator waiting in the wings. Take out as many enemies as you can from range, then slowly move in with a close range weapon to annihilate the Gladiator when he comes to ambush you.
There are also some yellow canisters to shoot here, along with a few other enemy mos that won’t present much of a problem.
When you’re done, continue down into the corridor and make your way towards the window at the far end. Head outside and sprint down the shallow slope of this structure, stepping into the shadows of the scenery and heat shields to avoid being burnt to a crisp.
Rush towards the two larger shields, and once you’re in the shade, engage the Legionaries. Look to your right and you’ll see two parallel bridge platforms. From your elevated position, shoot the Legionaries on both of these bridge spans and then sprint across to the shade of a large shield on the opposite side.
Proceed back up the slope, stepping into cover as you engage any enemies in your way. Get under the dome in the center of the area and under the ship. Now simply let the enemy come to you and pepper them with your bullets. Once this is out the way, sprint and leap onto the small platform towards the exit door.
Destiny 2 walkthrough content
Use the links below to access all of our mission walkthroughs:
- Mission 1: Homecoming – Homecoming walkthrough
- Mission 2: Adieu – Adieu walkthrough
- Mission 3: Spark – Spark walkthrough
- Mission 4: Combustion – Combustion walkthrough
- Mission 5: Hope – Hope walkthrough
- Mission 6: Riptide – Riptide walkthrough
- Mission 7: Utopia – Utopia walkthrough
- Mission 8: Looped – Looped walkthrough
- Mission 9: Six – Six walkthrough
- Mission 10: Sacrilege – Sacrilege walkthrough
- Mission 11: Fury – Fury walkthrough
- Mission 12: Payback – Payback walkthrough
- Mission 13: Unbroken – Unbroken walkthrough
- Mission 14: Larceny – Larceny walkthrough
- Mission 15: 1AU – 1AU walkthrough
- Mission 16: Chosen – Chosen walkthrough
Clear the area and defeat the Centurion
Enter a cargo corridor, leap to the raised area halfway along and watch a tonne of Cabal enemies drop into view. Again, prioritise the Gladiators and blast any explosive canisters you see to weaken some of the foes you face. It may be worth popping your Super here to avoid death as you’ll erase everyone very quickly and prevent an agonising respawn scenario.
Once you’re done, climb onto the curved platforms situated around the massive chain to exit the chamber. Up here, you’ll need to access the next red-lit corridor. Make use of cover and proceed towards it, taking care of any resistance you meet. Shotguns are particularly handy here!
Step towards the corridor entrance but don’t rush in just yet. Keep your close-range weapon out and deal with the Phalanxes, Legionaries and Gladiator. Proceed up the next corridors and ramps until you reach the enormous main chamber.
From here, jump to the central part and spring along to the exit gravity tube ahead and positioned just to your right. Now it’s the final stretch and it involves clearing the area of enemies. We recommend moving down the left gantry ramp, hopping down the hole in the platform and landing at floor level.
Now it’s time to drop quite a few Cabal threats before a Centurion mini-boss joins the fight. Treat him like any other, so get out an energy weapon, destroy his shield, and let loose. If you’ve got your Super or grenades, use them to clear up the remaining threats, using the pillars as cover.
When you’ve wiped the area, move towards the gravity tube entrance, kill the Psions and exit the level – mission complete!
Video Walkthrough
To help you out even further we’ve linked a complete video walkthrough for you down below. It’ll take you through all of the objectives and you’ll get a feel for each location and the enemies too.
If you found the video helpful, do make sure to give it a thumbs up and consider subscribing to support their channel.
Hidden Areas
Members of the community have found two rather curious hidden areas within this 1AU mission. While Bungie won’t be giving anything away, players believe that these secrets could hint at a quest in a future update.
Where can I find them?
Below we’ve linked a video which’ll show you how to access each area and we’ve provided a little text summary for you too.
First area
- In the opening stages where you’ll have an enormous energy tunnel to your right, proceed all the way to end of the platform.
- Look over the edge and you’ll see a pipe and a red, grated platform you can hop onto. Land on this and run across all the way, traversing the large steel pipe and looking to your right for a tiny entrance.
- Inside you’ll find a couple of Cabal enemies and another little entrance to the right which you can’t access – very strange indeed.
Second area
- When you get to the part where you’re ducking beneath shade to avoid getting fried, there’s a section with a particularly large slice of shade directly in the centre of the area and an exit over to the far right.
- From here, sprint ahead and hug the wall to the left. Boost jump up the long pipe until you get to the top. Look up and to the right a little, there’s a ledge here you can get to even if it’s not immediately obvious.
- So, double jump up and to the right and land on the ledge. Look directly up and get up to an even higher level. From here, you’ll see a long pipe extending along the wall. Hop onto it and head into the tiny entrance to the right to find the Electron Controller.
