
Updated: Our essential Reinhardt guide is packed with plenty of strategy and ability tips.
Updated 21st December 2017: Our Reinhardt guide contains everything you need to know about playing this Hero like a pro, with plenty of ability and strategy tips.
Reinhardt is arguably the most easy to grasp of all the tank archetypes currently available in Overwatch. He has the gift of a massive shield, behind which his allies can hide as the entire team pushes their way through the map, he wields a massive hammer that not only smashes damage into multiple foes at once but also knocks them back, and he packs a generous health pool to boot. All in all there’s a lot to like about this character, and he’s a hero that comes highly recommended to tanking newcomers.
Because of all these generous defensive elements, you’d normally expect this kind of monstrous meatshield to have some serious mobility issues. While it’s certainly true that he moves a lot slower than most of his teammates, he does has a Charge ability which allows him to get back into battle faster – and smash through any opponents standing in his way while he’s at it. Combine this aggressive dominance of the battlefield with a projectile attack that can slice through snipers and turrets positioned at height, and the end result is an exceptionally versatile team tank.
While he’s not the most complex character you’ll encounter in Overwatch, it is worth taking the time to brush up on the basics before you go charging off into combat with Reinhardt. Our next hero guide will walk you through all the basics of his abilities, and also give you some powerful tips to stay ahead of the competition too. In time, we’ll also flesh this guide out even further, and add map-specific advice along with an overview of the best counters – and targets – for this character to be aware of.
In the meantime, let us know of your own personal strategy tips in the comments section and we’ll make sure we include them the next time we update this guide. We’ll be updating these guides continuously in the months ahead, and will make sure they’re as up to date as they can be.
Editor’s note – February 2017 Update: We’ve dusted off our rather old Reinhardt guide and given it a fresh lick of paint for the year ahead of us. We’ve added some handy tips for both attacking and defending with Reinhardt on Overwatch’s Assault maps, and will be fleshing out this section of the guide even further in the near future. We’ve also updated the skins gallery and the list of cosmetic items available for this her.
A new event has just hit Overwatch! Check out our essential Retribution guide for all the tips, tricks and strategy advice you need to master this new PVE mode.
Reinhardt’s abilities and strategy tips
You won’t find it too difficult at all to get to grips with the basics of playing Reinhardt, but it’s important to understand some of the finer points of his abilities nevertheless.
Here’s a quick run through how each one of these skills actually works, and how you should use them on the battlefield to cause maximum carnage for the enemy team.
Rocket Hammer [LMB] – Reinhardt is an out-and-out melee warrior at heart, and Rocket Hammer represents his source of up-close combat damage. The reach of this weapon is actually pretty impressive all things considered, and so it’s safe to say you shouldn’t have too much trouble when it comes to tapping your target with it. Not only will it do some fairly respectable damage to your victim, it’ll also knock them back a little as well. Just do your best to connect first time, as you can only swing the Rocket Hammer once per second – it’s pretty slow in this regard.
Barrier Field [RMB] – This is arguably Reinhardt’s defining ability and one that screams to the world “Hello, I am a Tank!” As long as this powerful barrier shield is active, Reinhardt will move much more slowly – and unable to fire too – but he will project a sheltering wall for the entire team to cower behind while they blast away at the enemy. Use it as often as needs be, but don’t keep it up unnecessarily, as it’ll only begin recharging its durability a couple of seconds after you’ve deactivated it. If you want to truly master Reinhardt, it’s essential that you manage the uptime of this protective shield.
Charge [LSHIFT] – Activate this ability and you’ll race forwards through the map, doing a little light damage to anyone you come into contact with, and snaring anyone that you manage to get a clean bodyslam on. Once they’ve been captured in this way, you’ll then propel them towards the next object on the map and deliver even more damage when you both arrive – often enough to kill them outright! In the event this extra damage doesn’t quite take them out entirely, you can start swinging with your hammer to finish the job off. Charge feels a little clunky and rigid until you get used to it, and you should keep in mind that you’re committed to seeing the ride out to its conclusion once you’ve activated the ability.
Fire Strike [E] – Like many of the travelling damage orbs found elsewhere in the game, Reinhardt’s Fire Strike is capable of scything its way through multiple enemies at once. The speed of the projectile makes it much harder for the enemy team to dodge as well, and so it’s ideal for interrupting the enemy’s game-changing Ultimate abilities, or reaching enemies who have a significant height advantage over you.
Earthshatter [Q] – If you’ve got a good pack of communicative teammates with you and you really want to push progress on the map, then drop Earthshatter. Anyone caught immediately ahead of Reinhardt will be tapped by this Ultimate ability, and they’ll be stunned for a few seconds as well. This downtime can, of course, be capitalised on by your teammates – if they also have their Ultimates ready, then the result can be absolutely devastating for your opponents, as your friends join you in smashing away – Earthshatter guide
| Ability | Fire Rate | Cast Time | Duration | Cooldown/Reload | Shield | Damage | Range |
|---|---|---|---|---|---|---|---|
| Rocket Hammer | 1 swing/s | – | – | – | – | 75 | 5m |
| Barrier Field | – | – | – | 5s after being broken | 2000 | – | – |
| Charge | – | 0.7s | 3s | 10s | – | 50 | 55m |
| Fire Strike | – | 0.6s | – | 6s | – | 100 | – |
| Earth Shatter | – | 0.6s | 2.5s | – | – | 50 | 20m |
If you want get the most out of your abilties while tanking with Reinhardt, have a look through some of our best tips for making the most of his skills.
A certain amount of responsibility for coordinating your team comes with picking any tank in the game, so use the following advice to get a good headstart, and don’t forget to tell your team what you’re doing.
- It can take a little bit of practise to get good at delivering a successful Charge attack. Who’s the best target to hit once you’ve got the hang of it though? Well, anyone who’s been separated from the pack makes a good choice of victim, as you’ll have time to start swinging without being picked off by their friends. Look for people who are trapped by walls or corners too, as you’ll likely find them easier to hit.
- Note that you can actually cancel the massive swing of your hammer if you know it’s going to miss. Simply click the right-hand mouse button to cancel your current attack, and so gain the chance to correct your aim.
- In confined spaces you should absolutely swing away with your hammer as you’ll either scythe through a massive amount of enemy health or force the pack to retreat to safety. Either way, you’re getting your job done.
- If you’re on a Payload map, using Reinhardt’s shield to protect a Bastion or Torbjorn Turret while riding the objective can be a very powerful – if somewhat old-school – play. Just make sure someone’s keeping the rear clear while you progress through the map!
- It sounds a little obvious to mention but Reinhardt’s defining characteristic is his immense shield. Make sure it’s up whenever it makes sense to have it in use – even the greenest teammate should understand the message and get into position when they see it hum into action.
- If you are guarding an objective and you are waiting for your team to catch up with you, keep your shield up and your eyes peeled for snipers. Keep moving your field of view around and be ready to protect yourself with this brilliant barrier.
- You need solid support to get the most out of Reinhardt, as his attacks are slow and melee-orientated. If your team aren’t clustering behind your shield while doing their DPS thing, make sure they understand that’s where they should be. Use your shield to move your group en-masse towards a new section of the map.
- In the same spirit of cooperation, let your team know how much of your shield is left over voice comms if you can, and do not drop your shield to launch a Fire Strike if your friends are relying on shelter to do their thing.
- For a little piece of mind you might consider combo-ing Earthshatter with Charge. That way you can get stuck right into a pack of enemies, then immediately stun them so that your teammates can get on with the job of taking out the trash. Alternatively, drop Earthshatter, and then slam your way into the most important target!
- We’ll expand on this later in our Counters section, but Reinhardt is a particularly annoying obstacle to Roadhog. His shield will protect the team from his hookshot, and Roadhog moves so slowly that you shouldn’t have too much trouble taking a slice off him with Fire Strike
- Do be aware of what your friends are up to at all times, because there is very little that’s more annoying in Overwatch than to have a Reinhardt go charging off into another section of the map, leaving his previously sheltered friends at the mercy of the enemy!
Our most popular Overwatch articles:
- 1. Tier List – Overwatch Tier List
- 2. Year of the Dog – Year of the Dog guide
- 3. New Legendary Skins – Year of the Dog Legendary Skins
- 4. Lunar New Year Start Time – Year of the Dog Start Time
- 5. Brigitte Guide – Brigitte guide – Tips, tricks and strategy advice
Map-specific tactics for Reinhardt
Here are some tried and tested tips that you should find very useful when you’re playing Reinhardt on specific map types.
Reinhardt: Assault tips (Hanamura, Temple of Anubis, Volskaya Industries)
It’s all about the chokepoints when it comes to playing a defensive Reinhardt on these kind of maps. That doesn’t necessarily mean just standing stock still in front of the choke with your shield up though. Instead, you’ll often find it beneficial to position yourself slightly off to one side of the entrance point, while still providing an obstacle to the capture point. This will allow you to focus the use of your shield in a very efficient way, while also having eyes on enemy flankers who may be taking the path less travelled.
When you and your team are attacking the capture point, there’s little point in being a timid tank who simply provides a sponge for enemy fire. Communicate a plan with your team in the spawn room and execute it exactly. You might choose as a team to march confidently towards the point and form a team of appropriate heroes. Alternatively, you might just want to use your shield to provide shelter for your team to funnel left or right through the choke and towards the point. If it goes wrong, make sure everyone knows to regroup, as persistence will pay off more often than not.
Reinhardt: Control tips (Ilios, Lijiang Tower, Nepal, Oasis)
We wouldn’t recommend Reinhardt for Control maps like Ilios or Lijiang Tower unless there’s a very specific hero or playstyle you’re trying to counter. He’s all about rallying a team behind his shield and that won’t be the case when holding or attacking an objective where making creative use of space is rewarded.
Often we’ve found playing Reinhardt in Control far too overwhelming, as you’ll never really have a clear idea of when to hold your shield up and it’ll usually end up with you spinning on the spot when the enemy goes in for the attack. Only pick him if you’re in a premade group – but even then, you’re better off choosing another tank in Control.
Reinhardt: Escort tips (Dorado, Route 66, Watchpoint: Gibraltar)
Escort is where Reinhardt shines. Rally your team behind your shield, stay on the Payload and wait for the enemy to put themselves out of position – then Hammer Down. If you’re shield breaks, let it completely recharge, continue being the team’s anchor and hold the frontline.
Focus on the enemy’s movements and don’t charge in recklessly. Wait for an opportunity, perhaps easing in with a couple of hammer blows before weighing up the idea of committing 100% to the fight. Remember, you’re essentially moving cover for the team! If you lose patience, your team will pay for it too.
Reinhardt: Hybrid tips (Hollywood, Eichenwalde, King’s Row, Numbani)
Again, he’s fantastic at the Escort part. Utilise his strength while escorting the payload but swap off if you reach the final point.
Key points when playing Reinhardt: Patience, awareness of your team’s positioning and constantly being on the lookout for that prime Earthshatter. Although, don’t think you need to catch an entire team with his Ultimate – if you only hit Mercy for example, that’s easily good enough.
Constantly communicate with your team and indicate when your shield is going down, or if you’re thinking of charging the enemy to initiate a fight. Ask if anyone’s behind your shield and where the healer’s are located. Finally, don’t do a 180 turn if a flanker slips past your barrier as this will leave your whole team vulnerable. At this point do your best to limit damage and be the true tank hero your allies need!
Reinhardt counters and match-ups
Reinhardt is one of the best all-round tanks in Overwatch, and there are very few occasions we can think of where he won’t prove to be an excellent tank for dealing with any threat. Having said that, he does shine against a particular handful of opponents.
Here’s a quick look at who to focus on – and who to run from – if you take this tanking monster into combat. We’ve gone with our top three in each case, but check the notes for a little extra insight.
| Reinhardt is strong against | Reinhardt is weak against |
|---|---|
| Soldier: 76 | Reaper |
| Torbjorn | McCree |
| Widowmaker | Pharah |
Reinhardt’s shield provides him with a powerful advantage against all three of these opponents and for very obvious reasons. He struggles more with the likes of Reaper, McCree and Tracer due to their ability to flank and get around his unshielded side. Pharah has an obvious height advantage too, allowing her to rain hell down onto Reinhardt.
For help with other Heroes, make sure you check out our complete Overwatch: Counters guide.
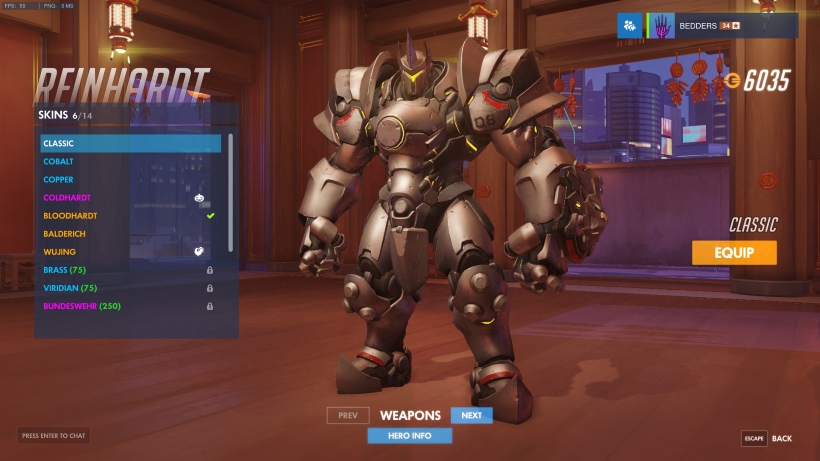

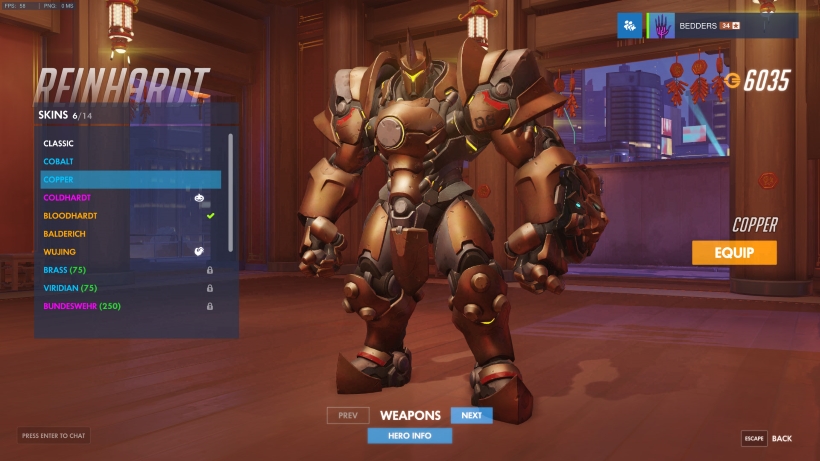

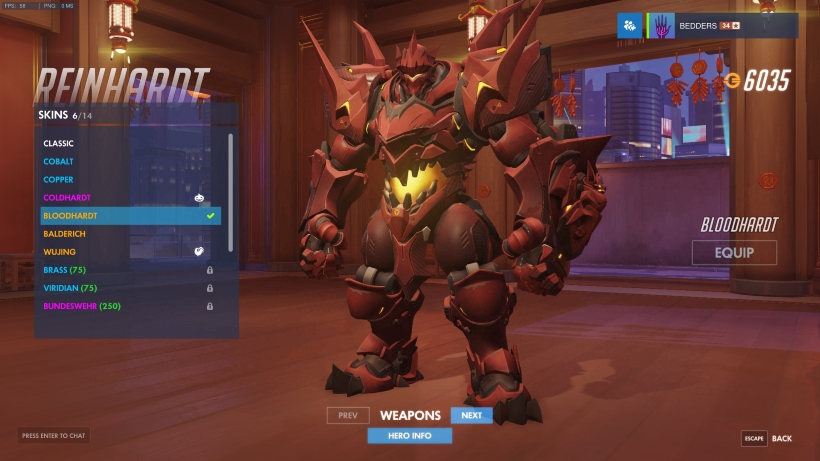

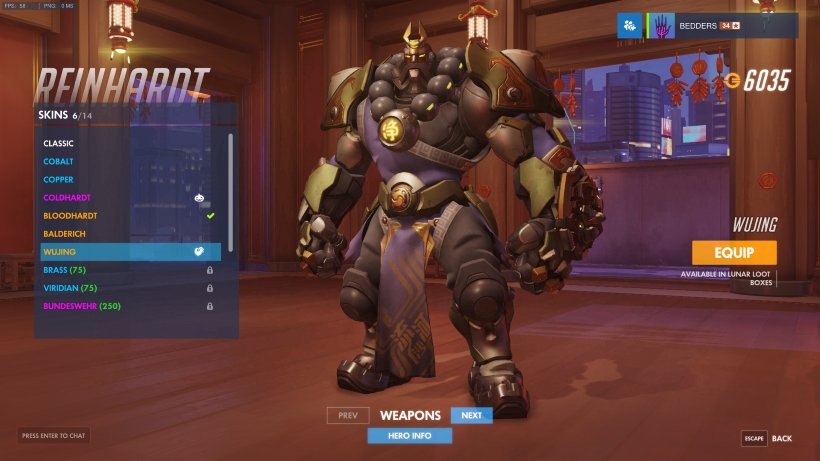


Reinhardt Skins, Victory Poses, Emotes and Voice Lines
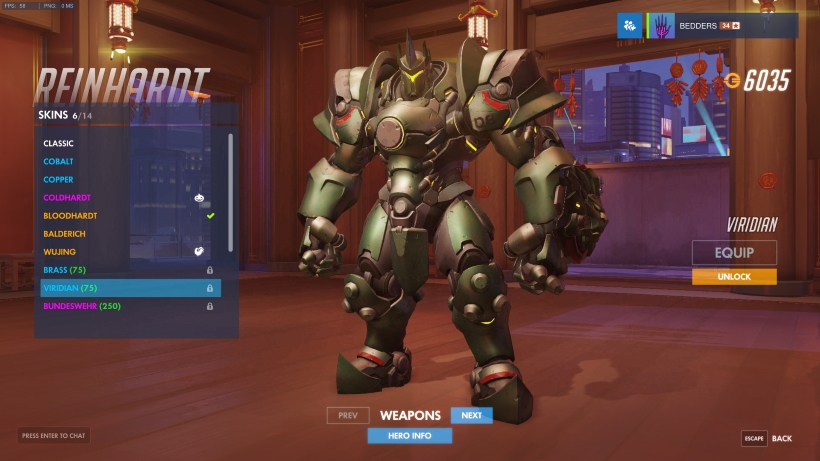
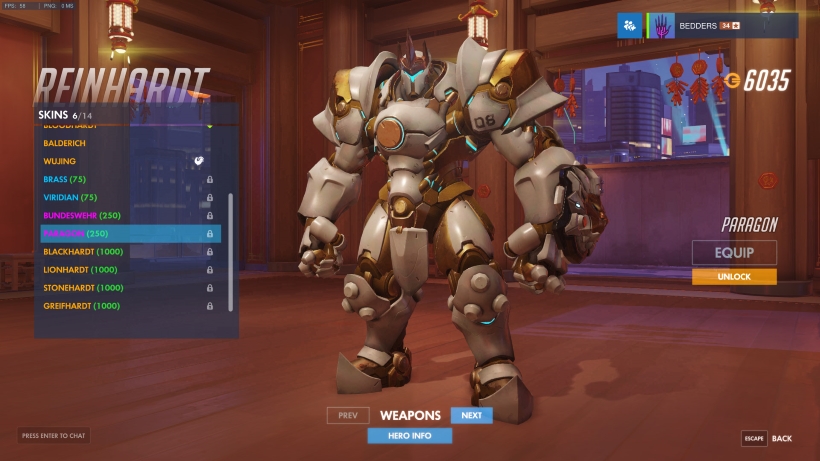
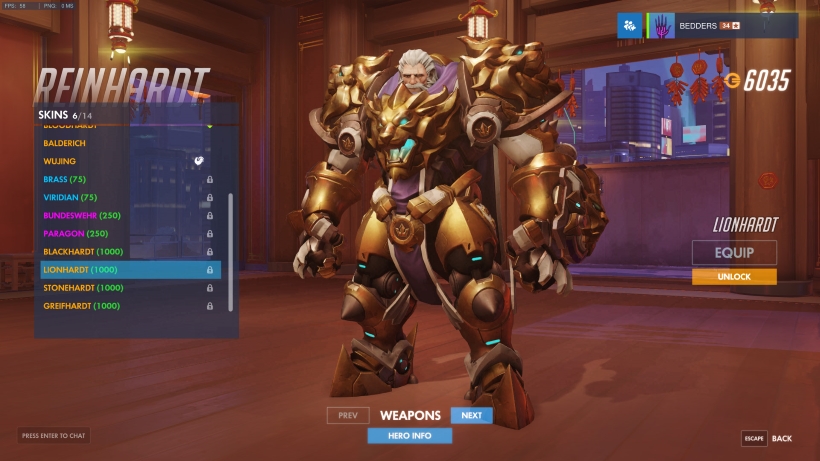
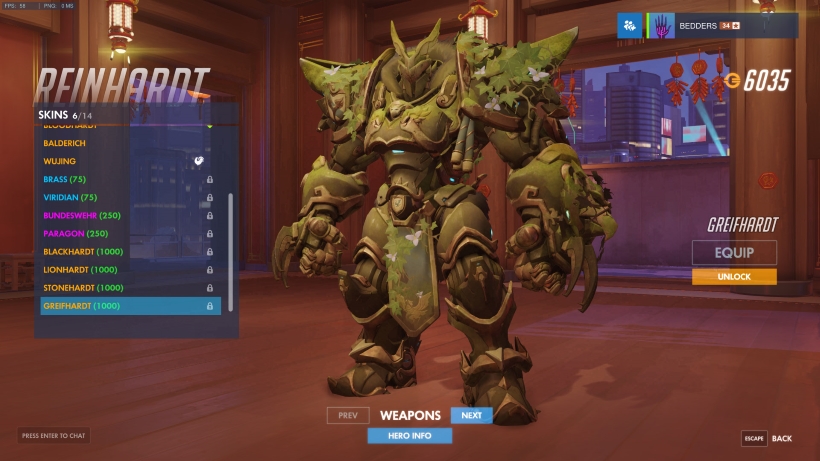
Fancy giving Reinhardt a fresh lick of paint? Here are all of the customisation options you can currently unlock for this Hero – assuming you have the Credits or lootbox luck to do so, of course.
| Unlock | Cost | Notes |
| Skins | ||
| Classic | 0 | Common |
| Brass | 75 | Rare |
| Cobalt | 75 | Rare |
| Copper | 75 | Rare |
| Viridian | 75 | Rare |
| Bundeswehr | 250 | Epic |
| Coldhardt | 250 | Epic |
| Paragon | 250 | Epic |
| Balderich | 1000 | Legendary |
| Blackhardt | 1000 | Legendary |
| Bloodhardt | 1000 | Legendary |
| Greifhardt | 1000 | Legendary |
| Lionhardt | 1000 | Legendary |
| Lieutenant Wilhelm | 1000 | Legendary |
| Stonehardt | 1000 | Legendary |
| Wujing | 1000 | Legendary |
| Emotes | ||
| Heroic | 0 | Common |
| Flex | 250 | Epic |
| Kneel | 250 | Epic |
| Pumpkin Smash | 250 | Epic |
| Taunt | 250 | Epic |
| Uproarius | 250 | Epic |
| Warrior’s Salute | 250 | Epic |
| Victory Pose | ||
| Heroic | 0 | Common |
| Confident | 75 | Rare |
| Flex | 75 | Rare |
| Legendary | 75 | Rare |
| R.I.P. | 75 | Rare |
| Toast | 75 | Rare |
| Voice Line | ||
| 100% German Power | 25 | Common |
| Are You Afraid? | 25 | Common |
| Are You Chicken? | 25 | Common |
| Beer! | 25 | Seasonal |
| Bring Me Another | 25 | Common |
| Catch Phrase! | 25 | Common |
| Crusader Online | 25 | Common |
| Crushing Machine | 25 | Common |
| Forgive and Forget | Seasonal | Common |
| German Engineering | 25 | Common |
| Glittering Prizes | Seasonal | Common |
| Honor! Justice Reinhardt! | Seasonal | Common |
| Honor And Glory | 25 | Common |
| I Salute You | 25 | Common |
| Respect Your Elders | 25 | Common |
| Smashing | Seasonal | Common |
| Show You How It’s Done | 25 | Common |
| This Old Dog | 25 | Common |
| Unstoppable | Seasonal | Common |
| What Do We Have Here? | Seasonal | Common |
| You’re On My Naughty List | 25 | Common |
| 100% German Power | Seasonal | Common |
| Highlight Intro | ||
| Heroic | 0 | Common |
| Random | 0 | Common |
| Charge | 250 | Epic |
| Hammer Down | 250 | Epic |
| More Stretching Required | 250 | Epic |
| Snowball Fight | 750 | Common |
