
Our essential walkthrough for beating Destiny 2’s Unbroken mission.
Our Destiny 2: Unbroken mission guide contains all the tips and tricks you need for killing Thumos and clearing the other content.
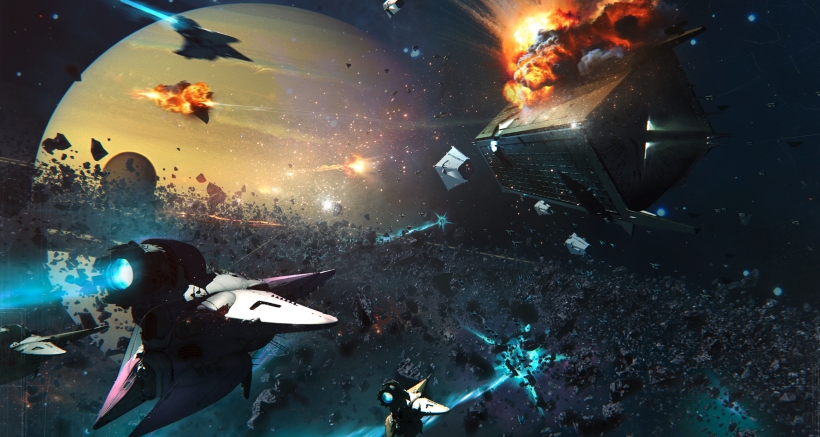
Your goal in Unbroken is to remove one of Ghaul’s allies, the Blood Guard Thumos. Fight across Cabal shipyards, hangars and even team up with Amanda Holliday to reach one of the Cabal’s biggest baddies.
Note that this is the first iteration of our Unbroken mission guide and we’ll be updating it in the near future with screenshots, gameplay footage and even more strategy advice. Keep this page bookmarked for an even more detailed walkthrough in the very near future!
Editor’s UPDATE #1: We’ve added a little advice to the top of our final boss fight section – hopefully it’ll make this fight easier for you! We’ll continue updating this guide as time goes by, so keep this page bookmarked for more!
(If you want to be the best at every area of the game, don’t forget to bookmark our PVP, Strike and Subclass guide pages – they’ve got everything you need if you want to get more out of Destiny 2, and will be continuously updated in the weeks ahead.)
Reach the console
Make your way into the hangar, stay at the entrance and take aim at the large number of Cabal enemies.
Be careful of the upper ramp as a group of Phalanxes and Psions will have their weapons trained on you. Avoid going out into the open and take cover instead, killing the Phalanxes first before dropping the Psions next.
Keep sticking behind cover and deal with the waves of enemies that’ll be coming at you, neutralising the Psions before they manage to chunk your health bar with their sniper rifles.
Once you’re done, head up the shorter ramp to the upper platform where a pack of Legionaries, Psions, War Beasts and a Centurion await. Lob a grenade into the mix to thin the herd and then let loose with a close-quarters weapon – combined, this should do the trick.
Use your Ghost on the console and the objective will update. A circular platform will descend across the bridge, so jump across it and then up into the a door above you into a connecting pathway.
Our most popular Destiny 2 guides:
The following links will take you to our most important guide hubs:
- 1. Guide – Destiny 2 Guide
- 2. Crucible – Destiny 2 Crucible PVP guide
- 3. Subclasses – Destiny 2 Subclass guide
- 4. Strikes – Destiny 2 Strike guides
- 5. Campaign – Destiny 2 Campaign walkthrough
Beat the Blood Guard Legionaries and Centurion
Follow this winding pathway over to an open door. Behind here will be a Legionary and three War Beasts, but they shouldn’t give you much trouble.
Now that you’ve taken them out, turn up and left, landing on the big pipe and punching out the grating on your right side. Now drop down into a Cabal-ridden area complete with two Gladiators.
Don’t go toe to toe with the Gladiators, but instead hit them as hard as you can as quickly as possible before they reach you. Then turn and deal with the others. It may be worth popping your Super here to avoid any trouble – it depends on how spicey things get here really!
With all the enemies defeated, move further into the area and keep an eye out for Phalanxes and Legionaries to the right of the pistons on the ground floor. Take them all out and prepare to face a mini-boss.
Move over to the far end of the area and get ready to face off against a mob containing a Blood Guard. Prioritise the Blood Guard straight away, knocking down his shield with an energy weapon before hitting him with a grenade and some bullets.
Try not to get too close to him as his flamethrower can tear through your health bar. Once you’ve taken his shield down, it’s also worth hitting him with a shot from your power weapon – ideally a satisfying blast to the face, using a shotgun.
After the Blood Guard falls, hop on over to the small ledge above the area you fought him in and head up the narrow corridor ramp. Again, break open the grating and manoeuvre through another door into a large cargo bay.
Head through two docking bay hangers, and while you’re doing so, take out any Psions you see on the way. Fail to eliminate them and it’ll come back and bite you as you progress through the next stage of the mission.
Keep on the near ramp and avoid rushing into the hangar. Take out the enemies before you use your Ghost on the console.
Now it’s time to face off against two more Blood Guards. Employing the same tactic as before, and focus on taking down their shields before spraying them with gunfire. We highly recommend you attack them one at a time, being wary to retreat and seek cover if need be.
Once the door’s been cracked open there’s a Centurion waiting for you and a few more Psions. Deal with these threats and progress into the second hangar, using the barriers as cover and eliminating any enemies you see down below.
Work your way right and along a raised platform to that runs along the middle of the hangar, dispatching the Psions here. Take out any other enemies you see down below and ready yourself for another Blood Guard. Once again, employ the same strategy as before with this big guy.
Destiny 2 walkthrough content
Use the links below to access all of our mission walkthroughs:
- Mission 1: Homecoming – Homecoming walkthrough
- Mission 2: Adieu – Adieu walkthrough
- Mission 3: Spark – Spark walkthrough
- Mission 4: Combustion – Combustion walkthrough
- Mission 5: Hope – Hope walkthrough
- Mission 6: Riptide – Riptide walkthrough
- Mission 7: Utopia – Utopia walkthrough
- Mission 8: Looped – Looped walkthrough
- Mission 9: Six – Six walkthrough
- Mission 10: Sacrilege – Sacrilege walkthrough
- Mission 11: Fury – Fury walkthrough
- Mission 12: Payback – Payback walkthrough
- Mission 13: Unbroken – Unbroken walkthrough
- Mission 14: Larceny – Larceny walkthrough
- Mission 15: 1AU – 1AU walkthrough
- Mission 16: Chosen – Chosen walkthrough
Tips, tricks and tactics for killing Thumos the Unbroken
Before you kick things off:
We highly recommend equipping a Rocket or Grenade launcher as you enter the fight. Their explosive punch will help clear the two tough Cabal enemies that spawn alongside Thumos in the initial stages of the boss fight. They’re also fantastic for destroying the mobs that’ll litter the arena and chunking Thumos’s health bar if you’ve got any ammo left.
If you’ve not got an explosive power weapon to hand, a Fusion Rifle is a great alternative as it’s highly capable of destroying enemy shields and single target damage.

Move into the interior ramp once you’ve exited the hangar, turning right and killing a weak mob of Legionaries and Psions in the corridor up ahead.
Head into a narrow door, turn left and stay behind cover and remove more mobs. There’s a Blood Guard up ahead in a very compact space, so we recommend running around him in circles, taking out his shield and hitting him hard with bullets.
Move into the large room and retreat a little from the console as Thumos and two Commander Legionaries appear. The strategy here is to prioritise the two mini-bosses before focusing efforts on Thumos himself, so you aren’t completely overwhelmed.
We recommend using as much environmental cover as possible, whittling down the Legionaries one at a time. This is the perfect time to activate your Super and lob your grenades – they’ll be disintegrated in an instant. What’s more, if you use your Super now, it’ll be recharged in time for the end of the fight too.
Once you’ve dealt with the Legionaries, aim for Thumos’s head and don’t stop shooting. When he whips out his sword, back away and keep peppering his head. Once he reaches two-thirds of his health, he’ll call in another wave of enemies.
Again it’s not too much of an issue – just take out the fodder and then concentrate on his head. He’ll start hovering above the area, potentially shooting you with his rifle. Keep to cover and damage him all the time.
With a remaining third of his health, Thumos will summon even more enemies, most of which don’t present much of a problem apart from the Gladiator.
Prioritise this enemy first, backpedalling around the perimeter of the arena if you have to. Once they’re all out the way, you may have a grenade or Super available!
Pop both if you have them, and if not, keep doing what you were doing before and he’ll go down far easier without all the help.
Check the links just a little further up the page if you’d like a little help beating the next mission.
